Software Installation Guide
Overview
This documentation contains instructions on how to install and setup the RIWA software provided all of the OS and hardware requirements are met according to the specifications provided.
Some steps need to be performed every time there's an update, while others are part of a one-time setup.
Operating System Requirements
- OS: Ubuntu 22.04.5 LTS (64-bit).
- Kernel: Must be running Linux kernel version between
6.5.0-15-genericand6.8.0-52-generic. - Architecture: x86_64 (Intel/AMD systems only).
If your current kernel version is outside the supported range, refer to the Kernel Rollback Guide for detailed instructions.
Installing RIWA2 Software (One-Time Setup)
Before moving forward with this installation, you should have received a ZIP archive named:
RIWA2-General-v{version_number}.zip
{version_number} is a placeholder and will not actually appear as RIWA-General-v{version_number}.zip on your local download but rather something similar to RIWA-General-v0.220.4.zip
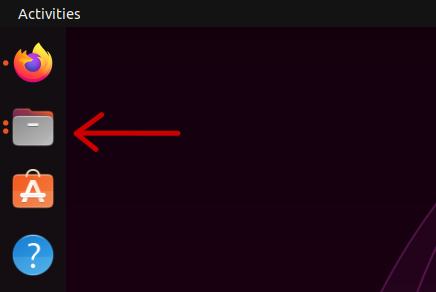
After confirming the file has been downloaded, on your Ubuntu desktop to access your Downloads folder, you need to start by pressing the file button on your task bar.
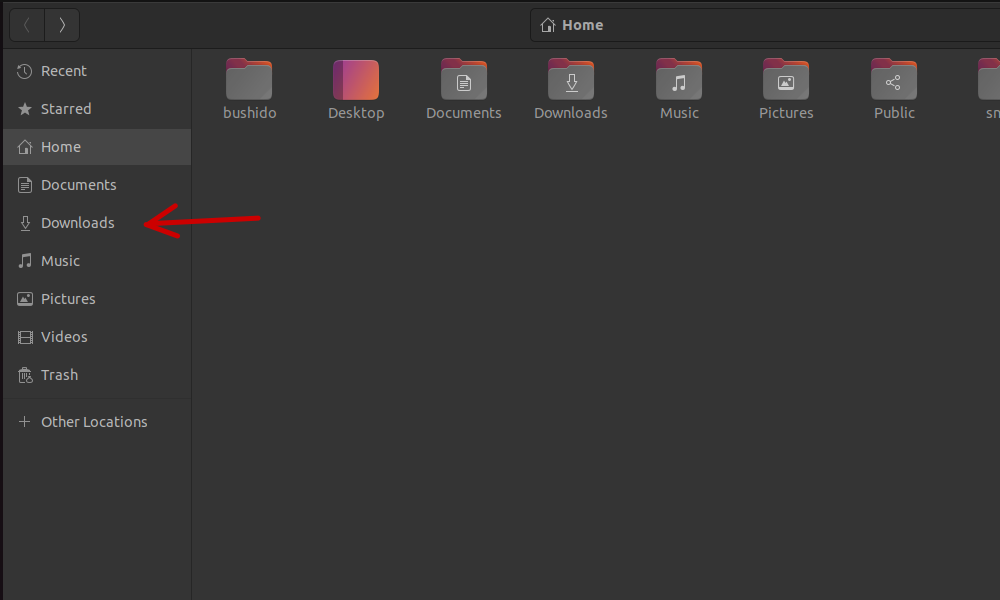
Once inside your Home directory folder, you are to click on the Downloads button in the vertical tab bar.
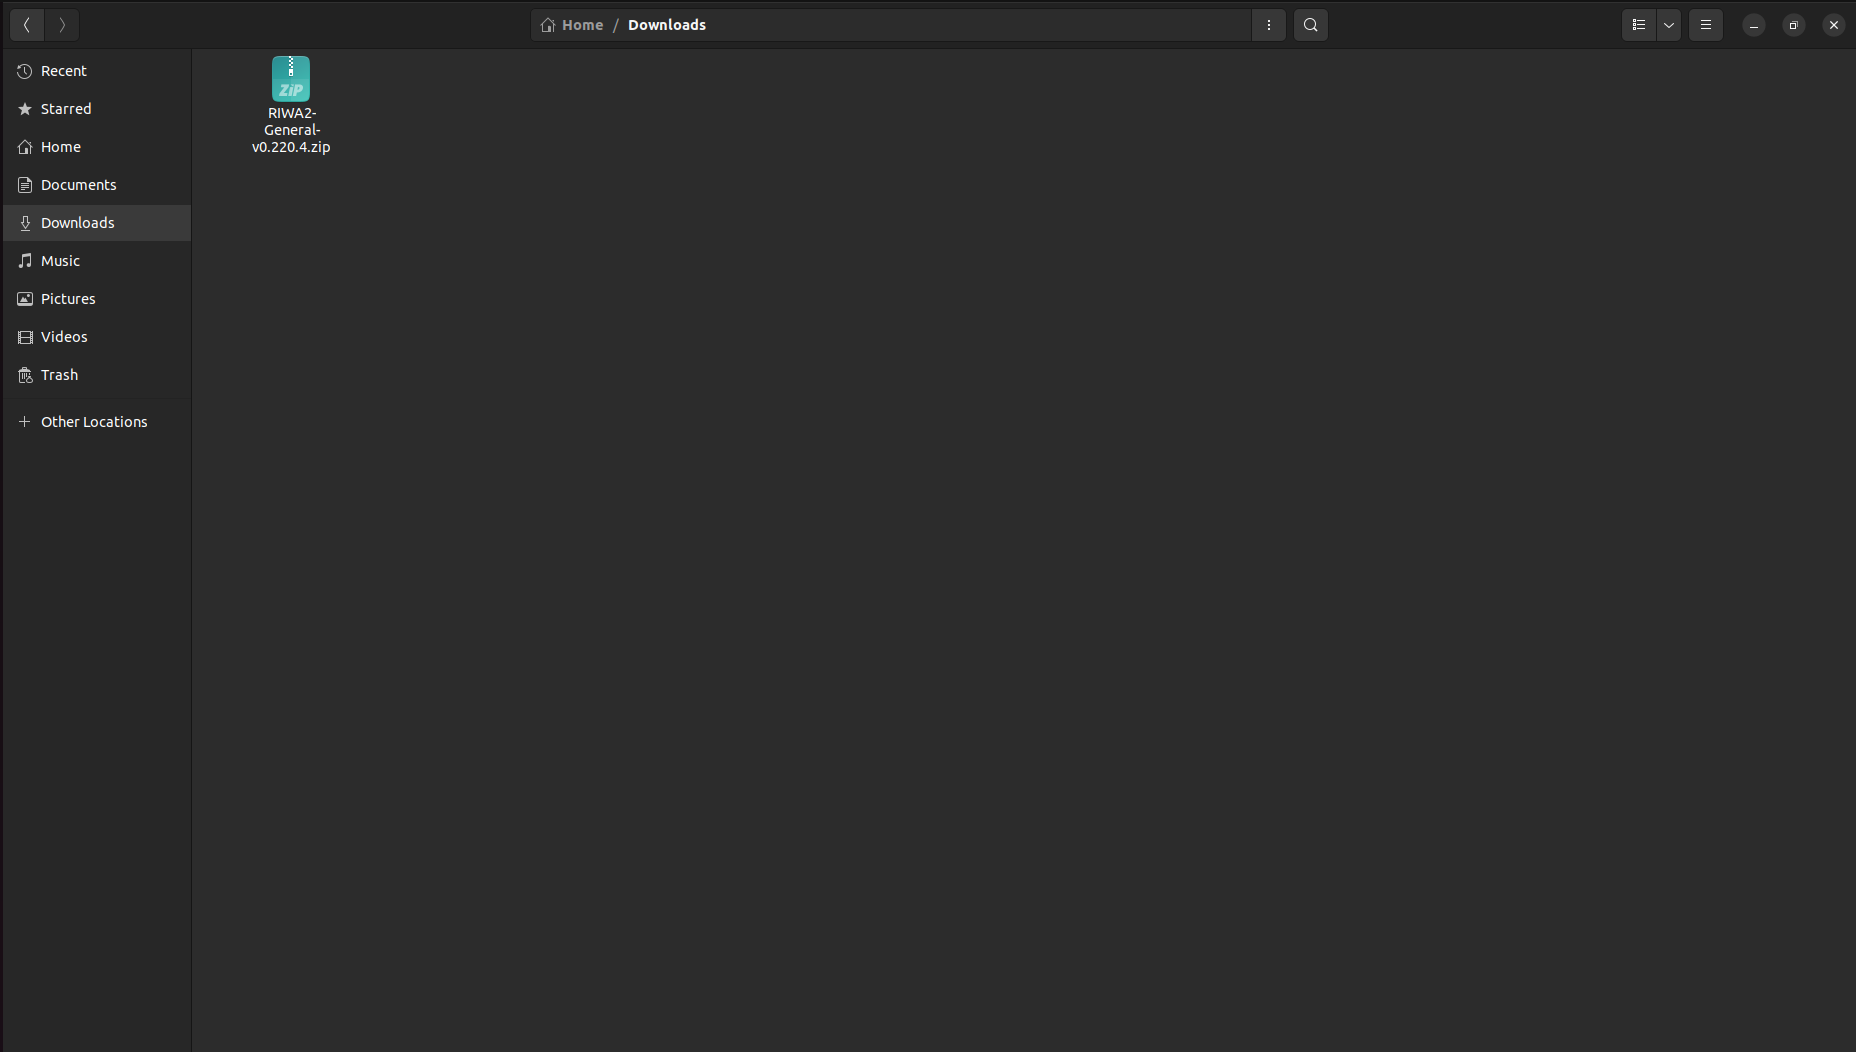
Now inside your Downloads directory, you will see your downloaded copy of the RIWA2 Software.
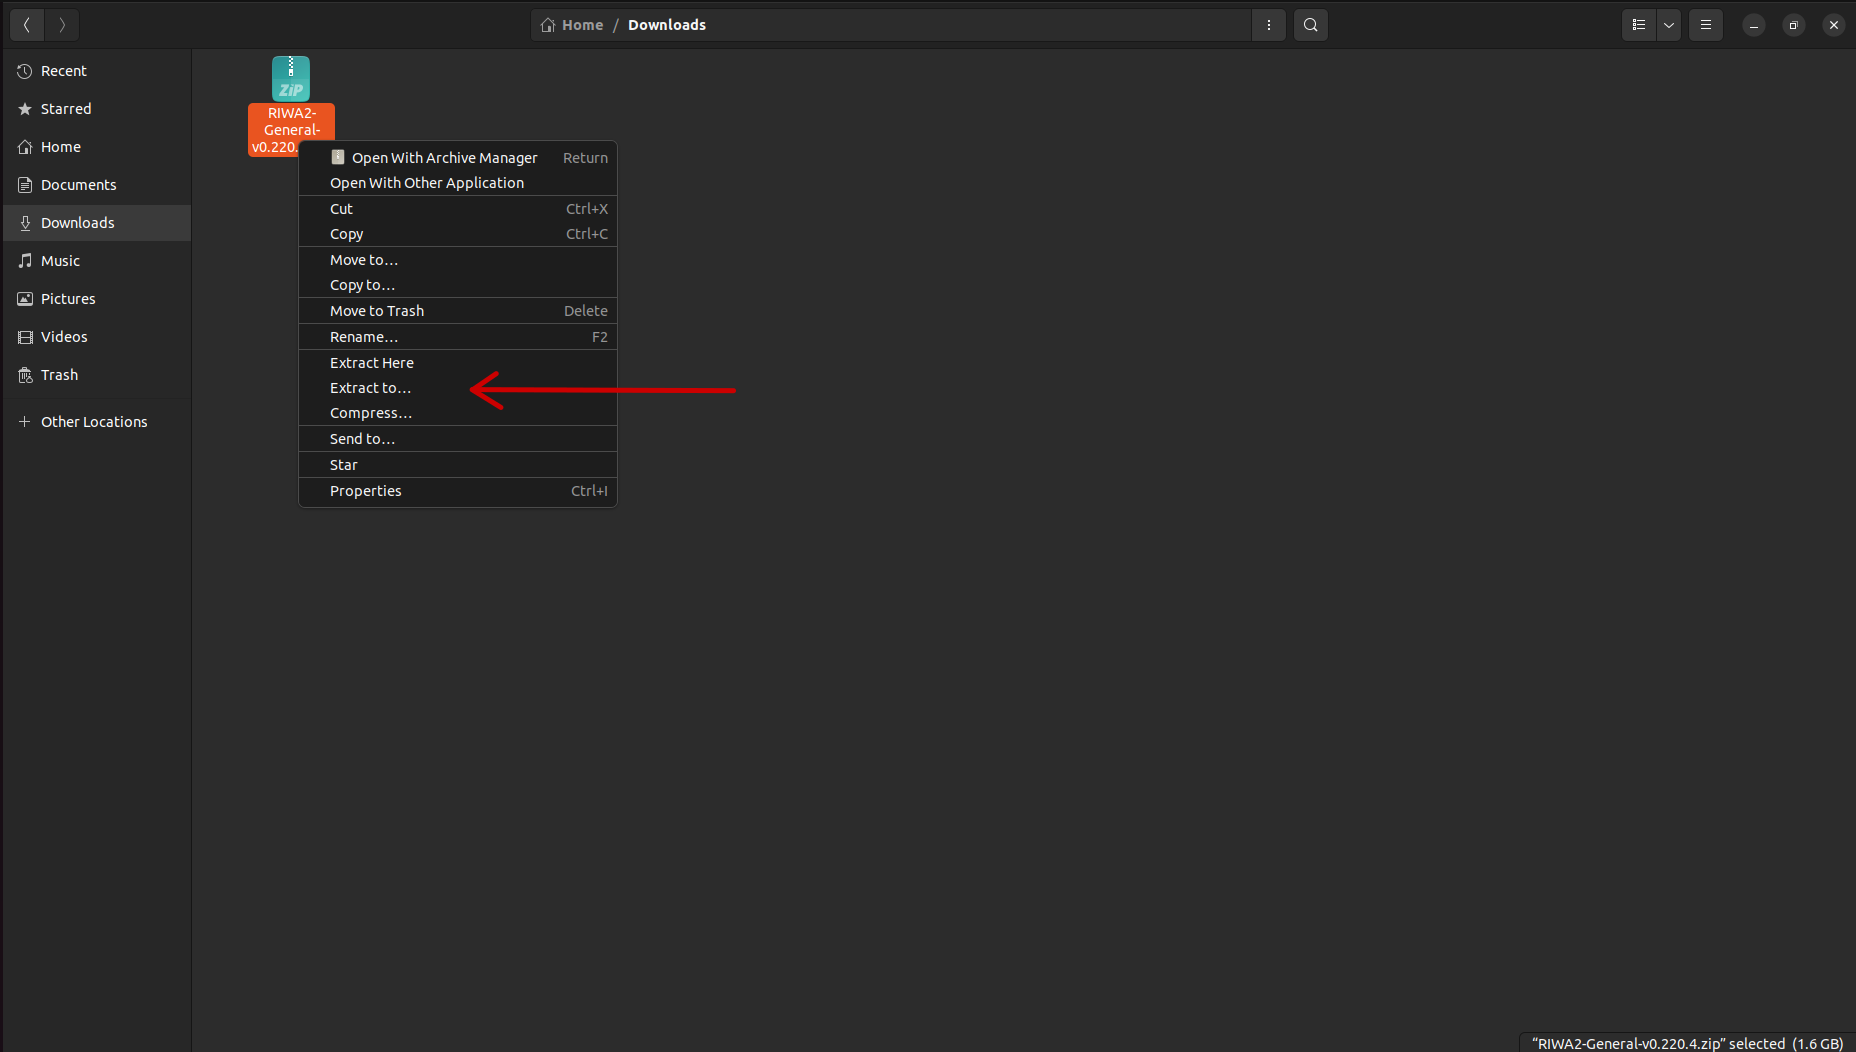
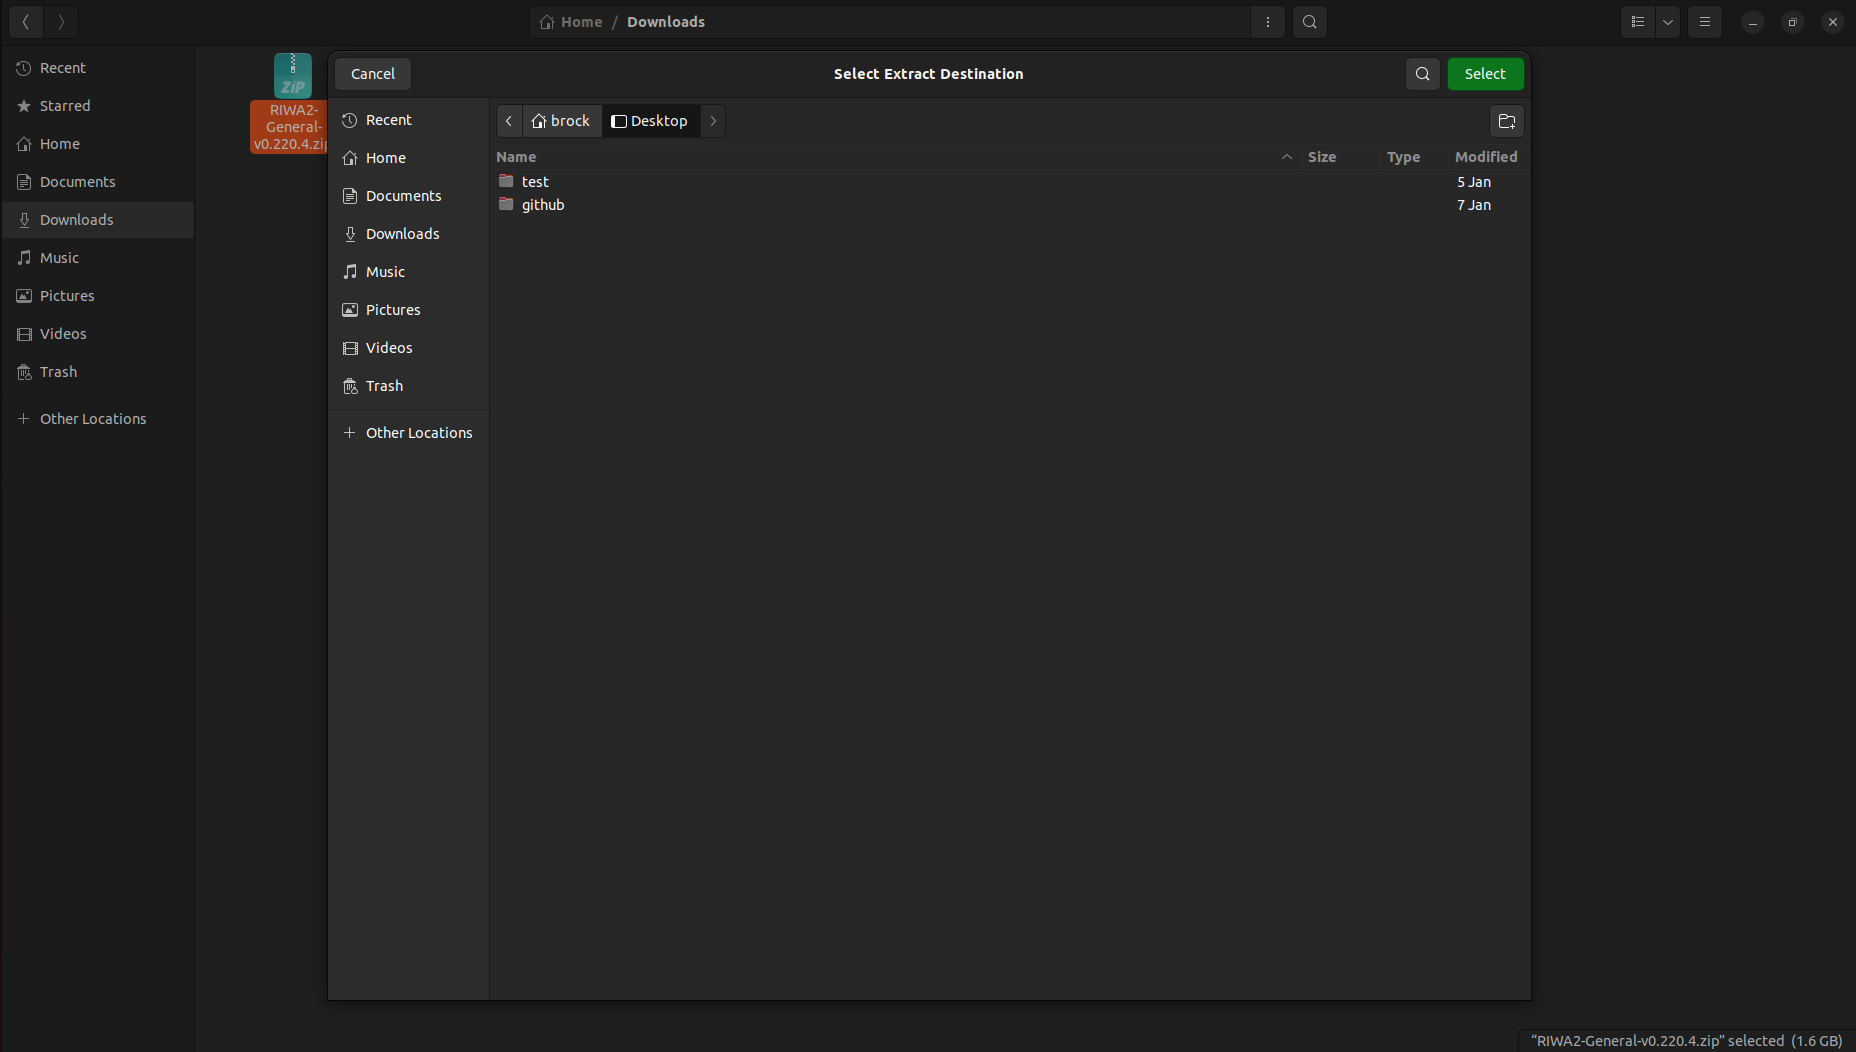
To start the installation of your RIWA2 Software, right-click the RIWA2-General-v{version_number}.zip file and press either Extract Here or Extract To...
For this guide, the RIWA2 Software is being extracted to a specific directory using the Extract To... button, but the application can be extracted in the downloads folder if wanted.
If you choose to click the Extract Here button, please skip to Setting Up The RIWA2 Software
Once the Extract To... button has been pressed, you can choose which directory you wish to extract your RIWA2 Software to.
For this guide, the RIWA2 Software is being extracted to the Desktop directory, but the application can be extracted anywhere.
Setting Up The RIWA2 Software
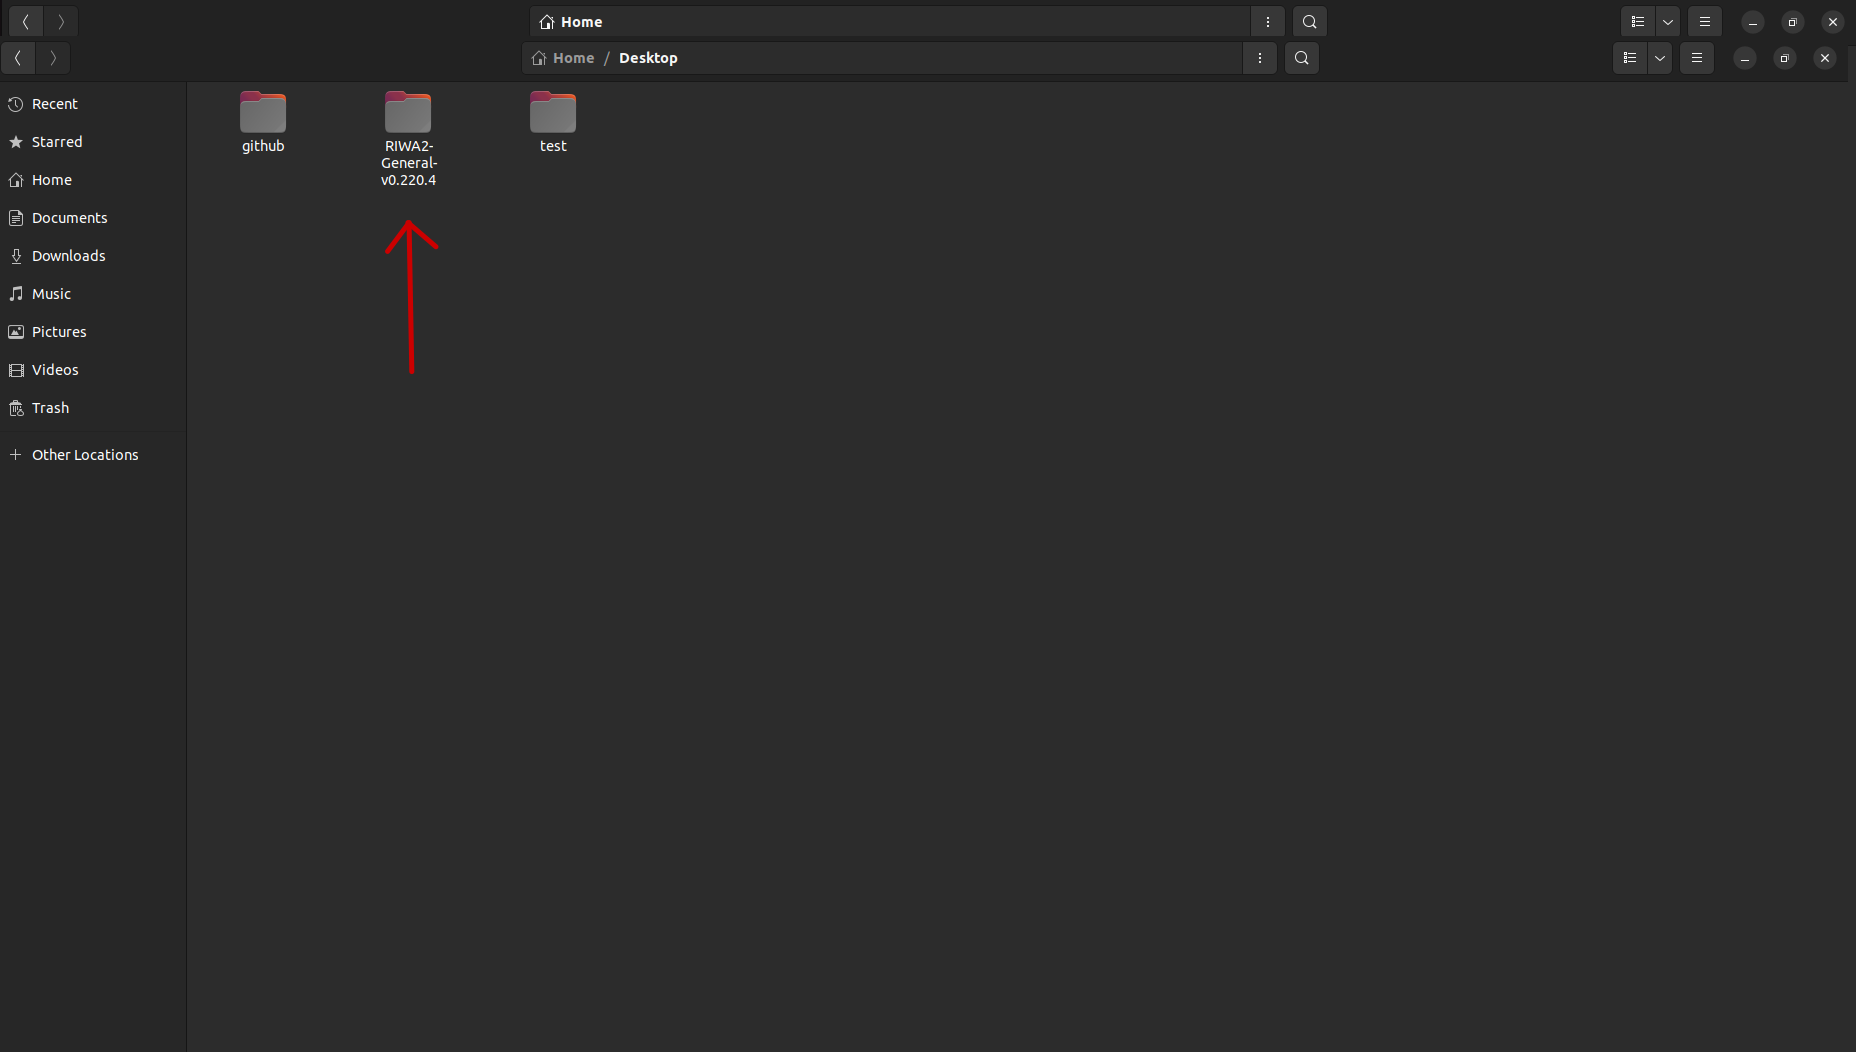
Once you extracted the RIWA2 Software to your desired directory, you will need to access the folder where the file has been extracted to. Once inside the respective folder, you will see a folder called RIWA2-General-v{version_number}. By double clicking the respective folder, you will be brought inside of the directory.
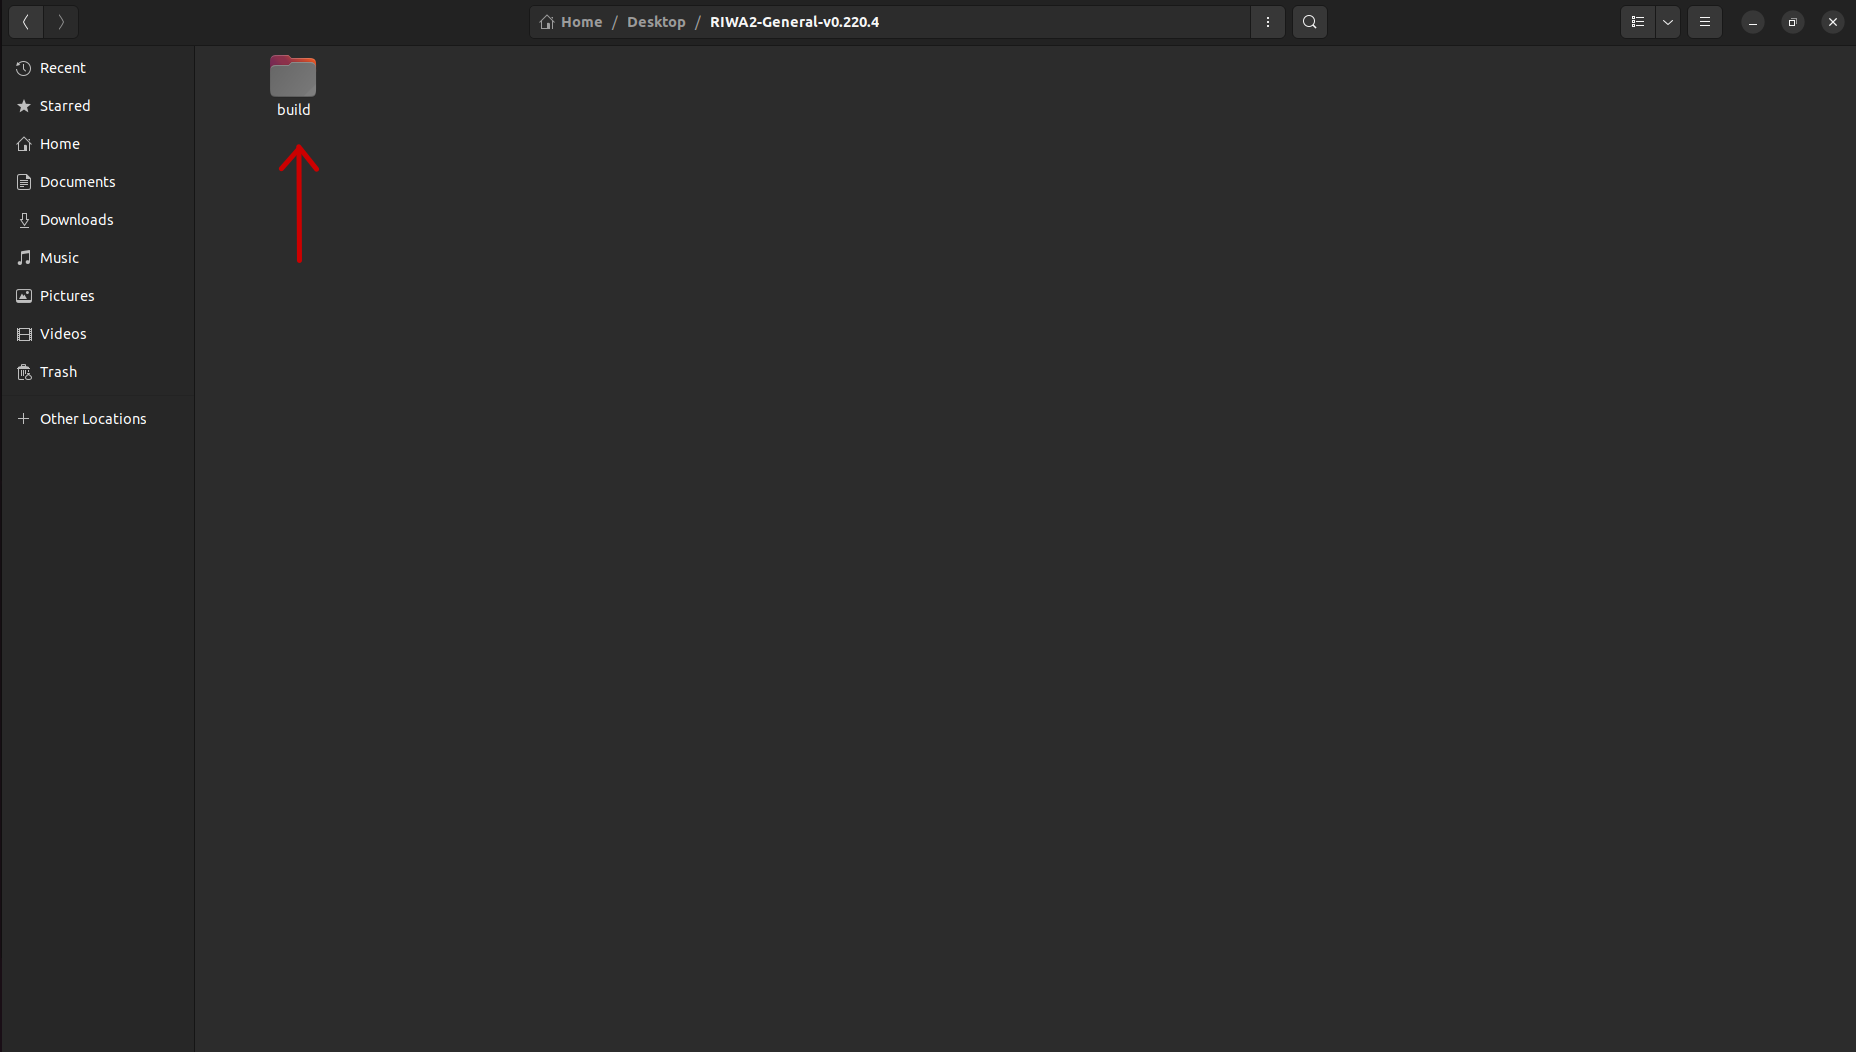
Inside the RIWA2-General-v{version_number} directory, you will see another folder named build. By double left clicking the respective folder, you will be brought inside of its directory.
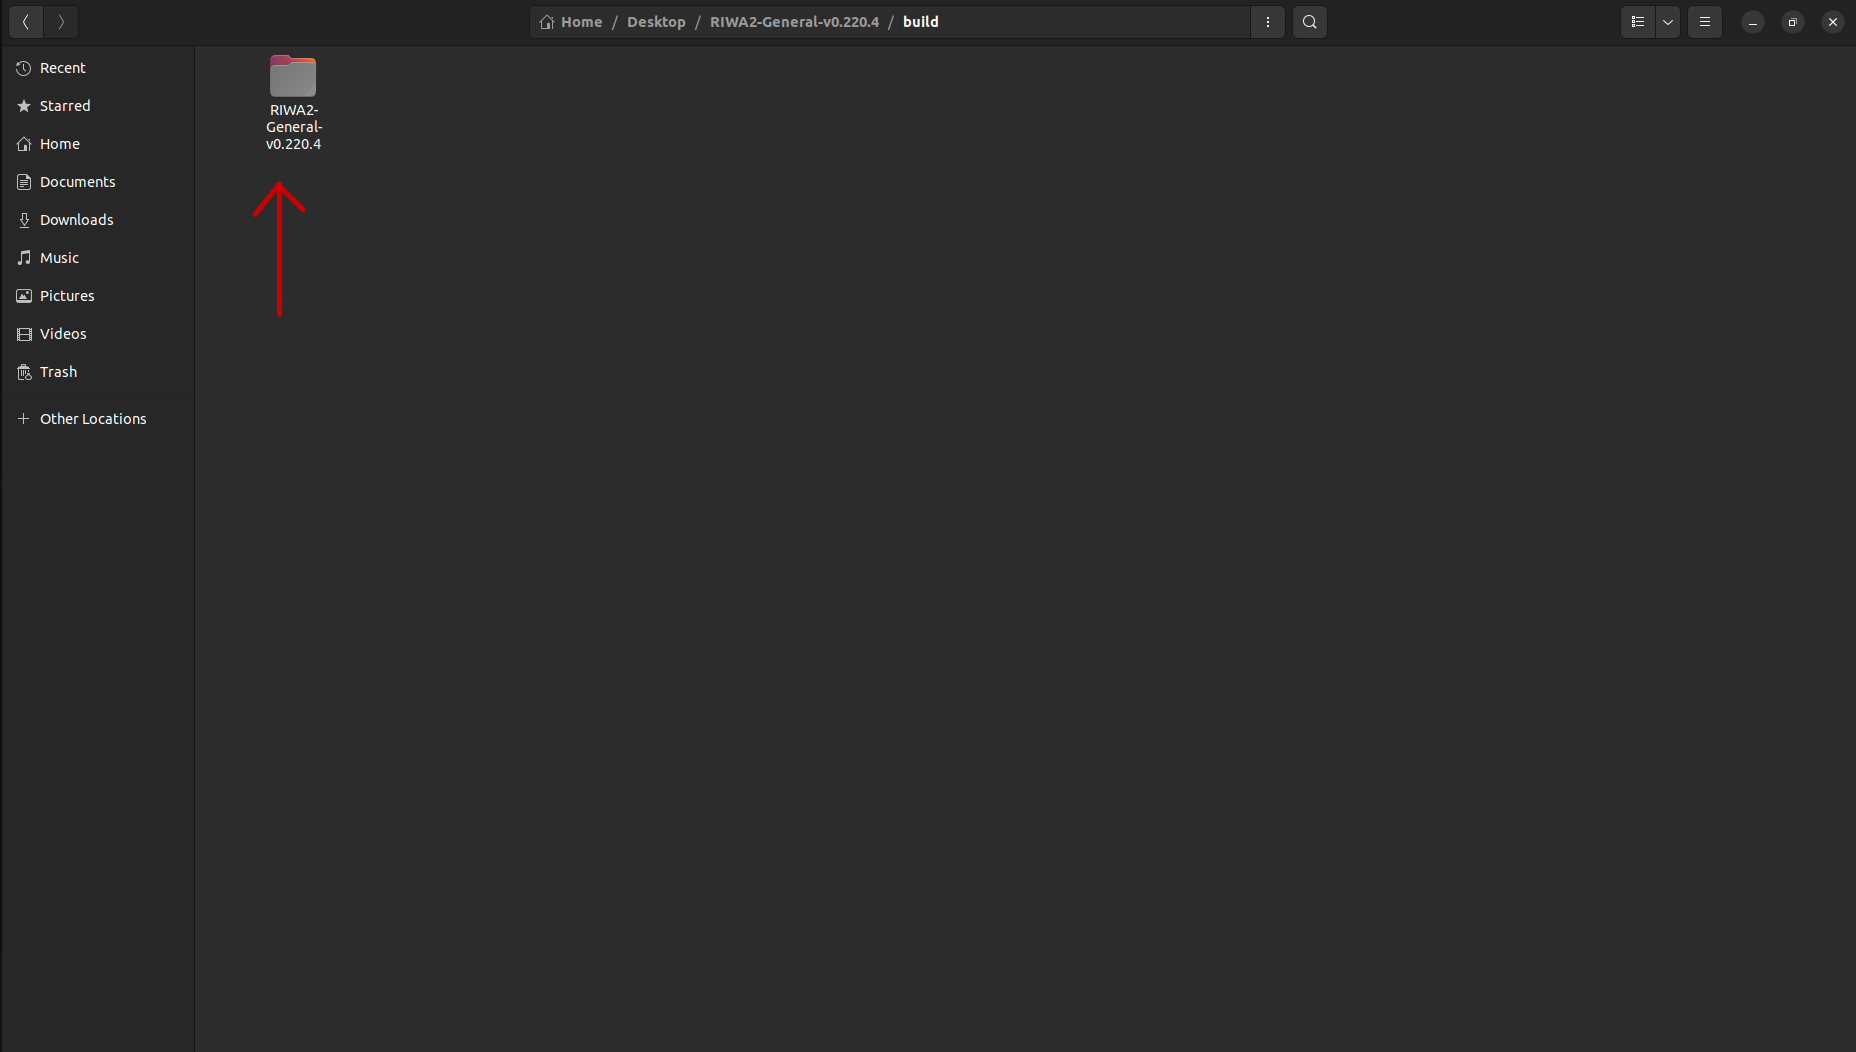
Inside the build directory, you will once again see another folder named RIWA2-General-v{version_number}. By double left clicking this folder you will be see the source files
Inside this archive, the following installation scripts will be included:
setup.sh: Installs one-time system dependencies.update.sh: Updates the main RIWA2 software packages.uninstall.sh: Uninstalls the RIWA2 software packages.
The auto_launch and disk_monitor directories both have their own respective documentation:
- For the Auto Launch documentation, please refer to the embedded page.
- For the Disk Monitor documentation, please refer to the embedded page.
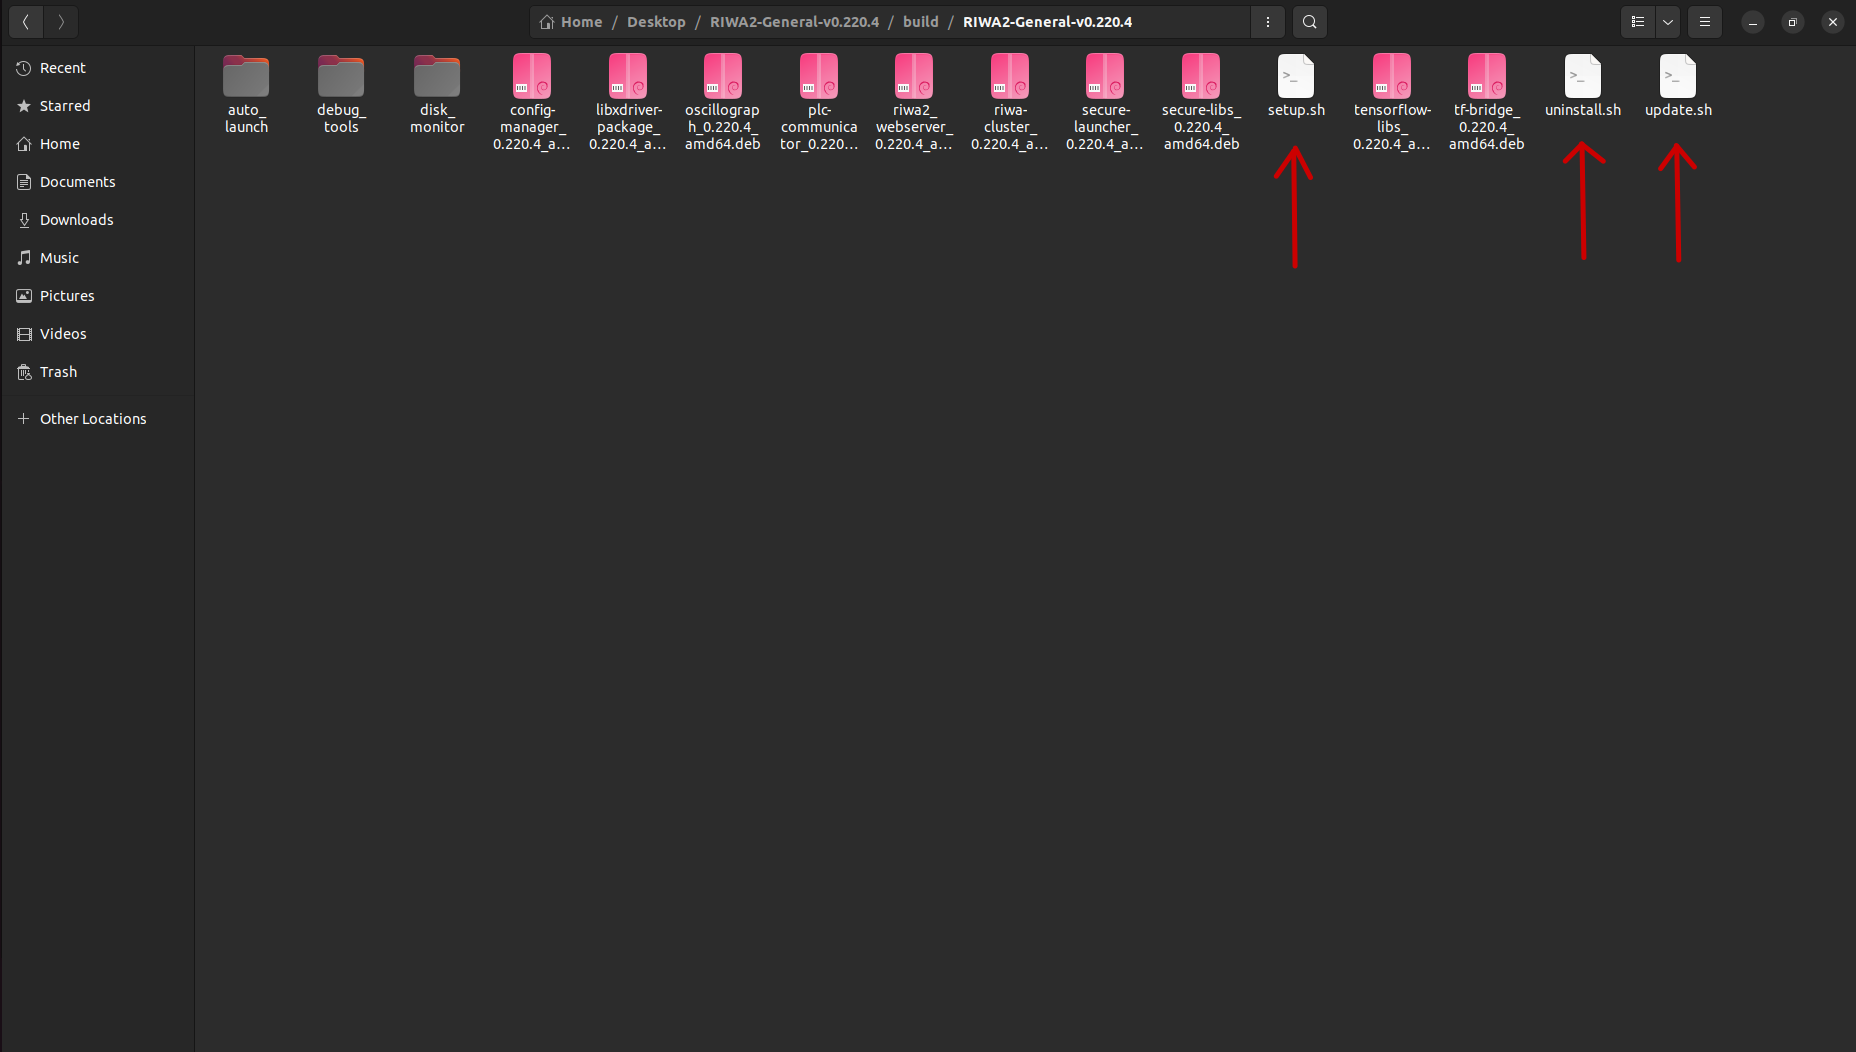
By right clicking inside of the same directory, you will see an option to Open in Terminal.

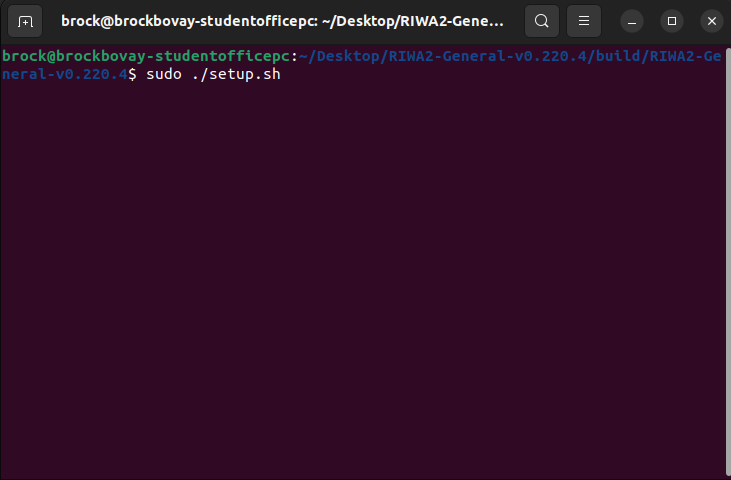
Once you have clicked on the Open in Terminal button, to install the dependencies required for the RIWA2 Software, you will need to run the following command:
sudo ./setup.sh
Running this command will ask you to both enter your password, and potentially require you to press y to accept installing dependencies. This is normal behavior and should be followed after entering the command above.
After running the sudo ./setup.sh script, you should see a page similar to the one below indicating the installation was a success.
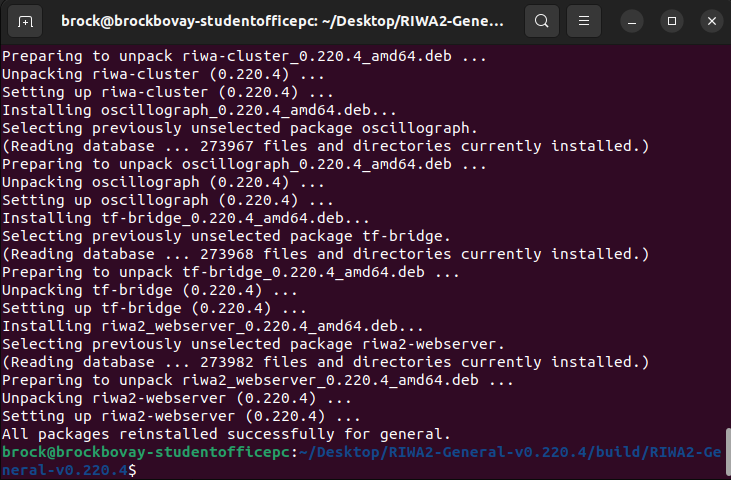
Once you are shown this screen, you can close the respective terminal follow the next steps for running the respective installed software.
Setting Up RIWA Hub (Multi-Time Setup)
After installing the dependencies required for the RIWA Software, the following documentation will list the required steps to setup and start running your RIWA Hub.
Opening Terminals
On your Ubuntu task bar, you will see a grid of dots that when hovered on will show a message saying Show Applications. To access your installed applications, you are to click on this button to continue with opening a new terminal.
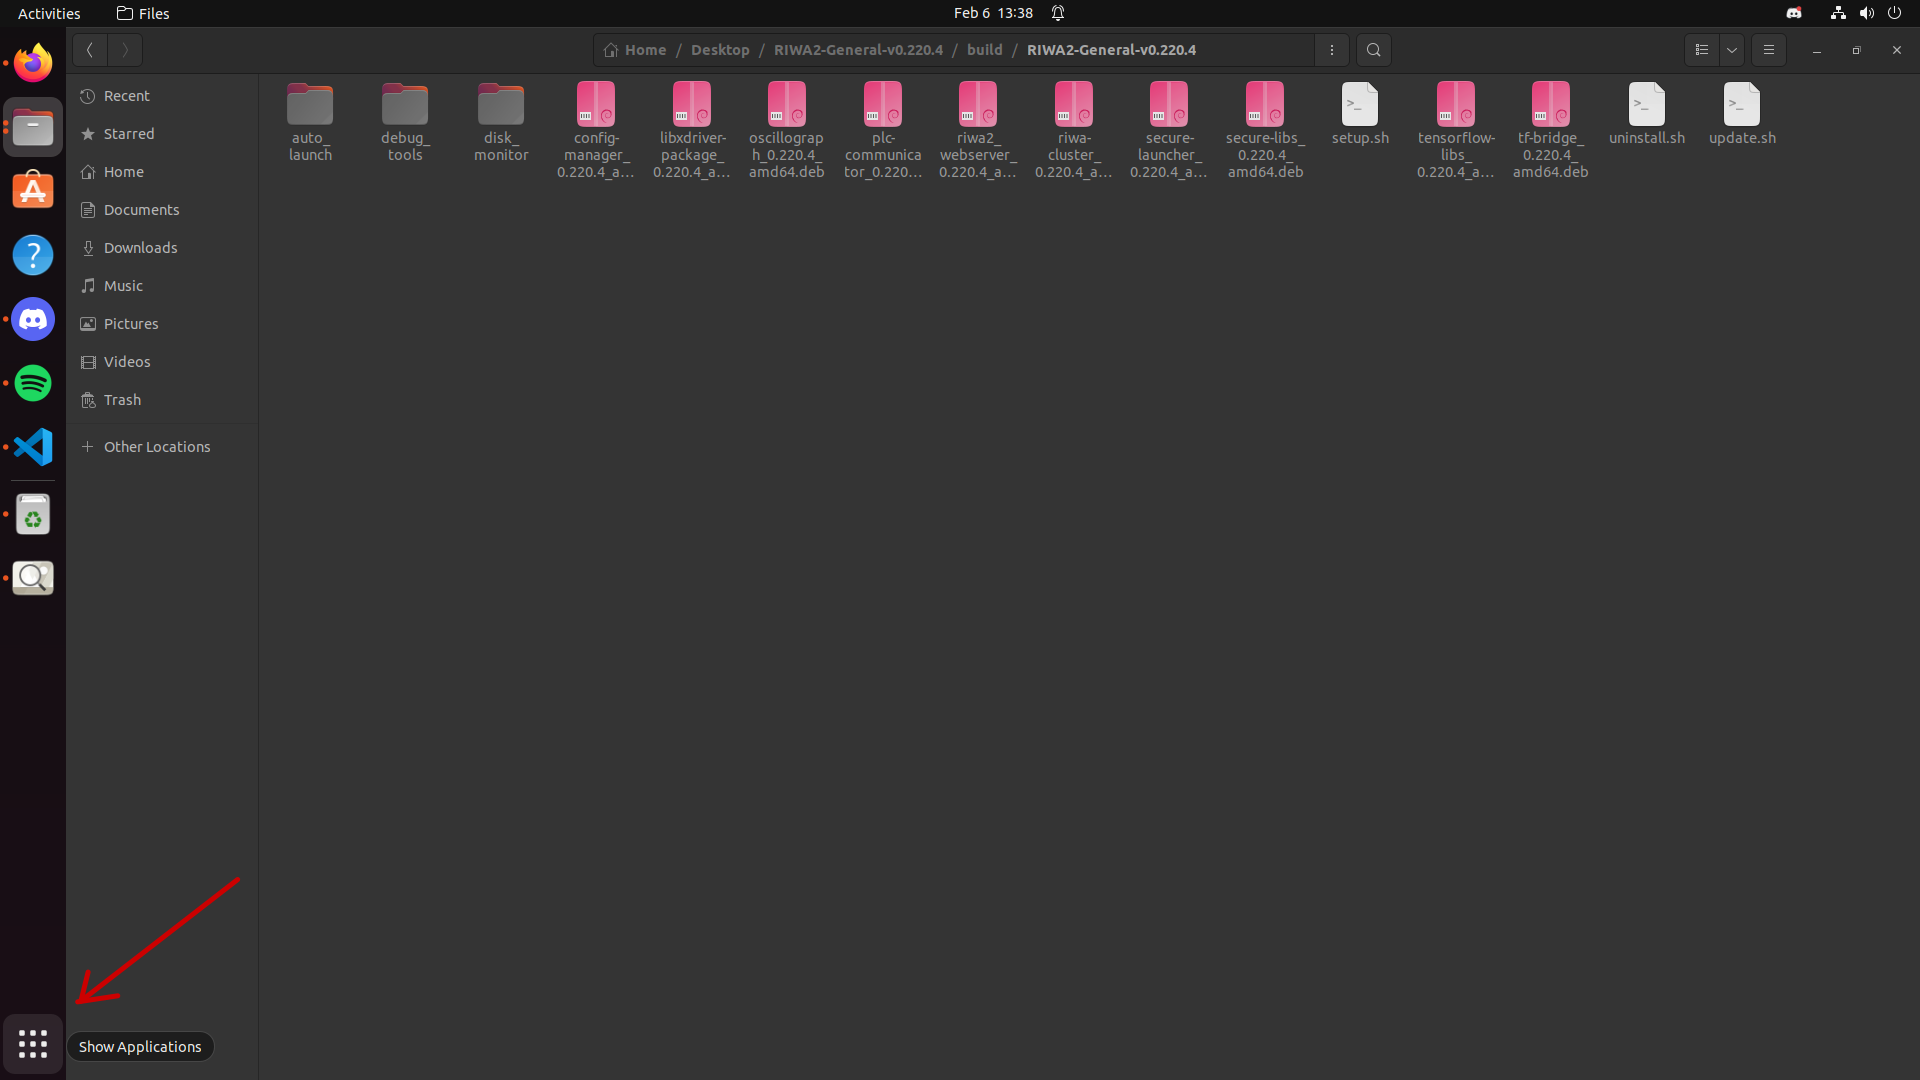
After clicking the Show Applications button, you will need to click on the Terminal application to continue.
If you have many applications installed and do not see the Terminal application, you can click the Type to search button at the top of the screen and enter the word Terminal. Once entered, you will see the respective application.
For the ease of setup, all the terminals required for the following setup will be setup first:
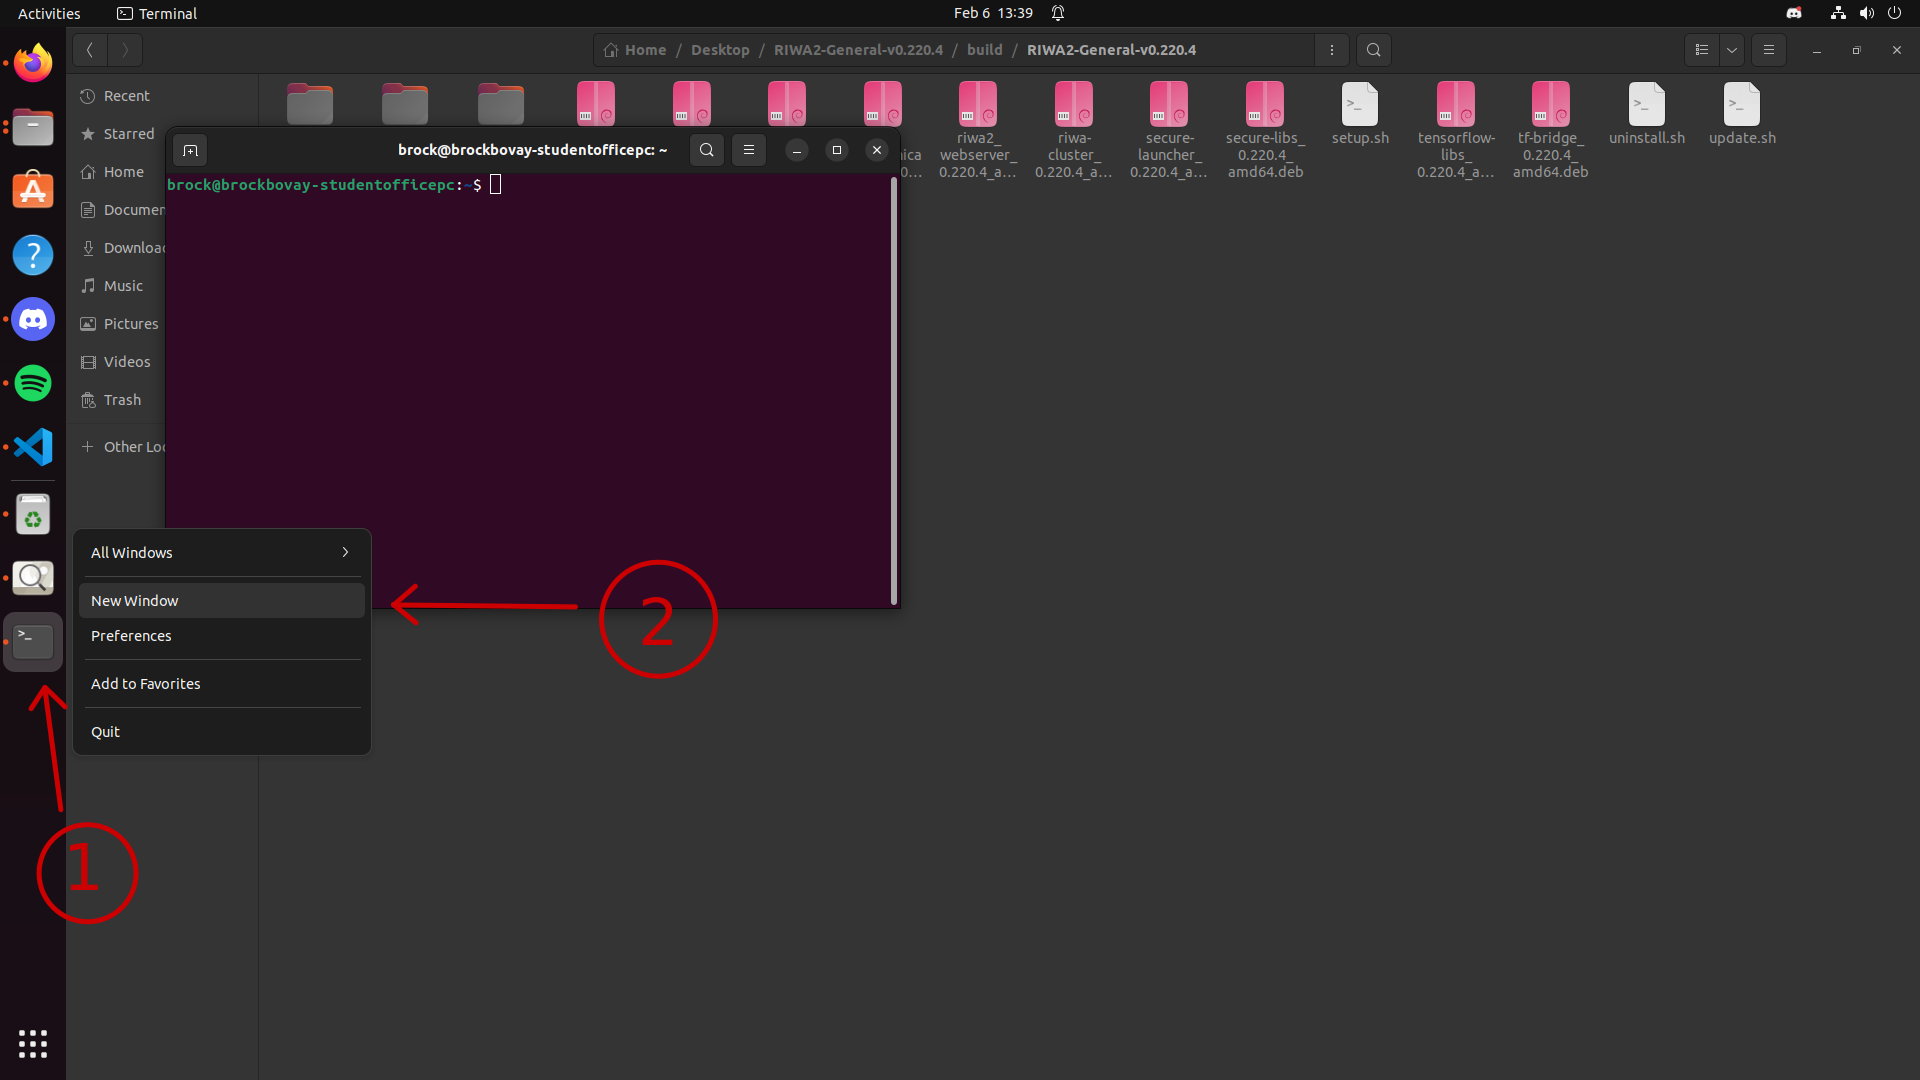
- On your taskbar, by right clicking the Terminal icon you will be given the option to open a
New Window. - By clicking the
New Windowbutton, a new terminal will pop up on the screen, allowing you to use multiple terminals at once.
You will need to repeat the steps above one more time to have a total of three terminals open at once before continuing with this documentation.
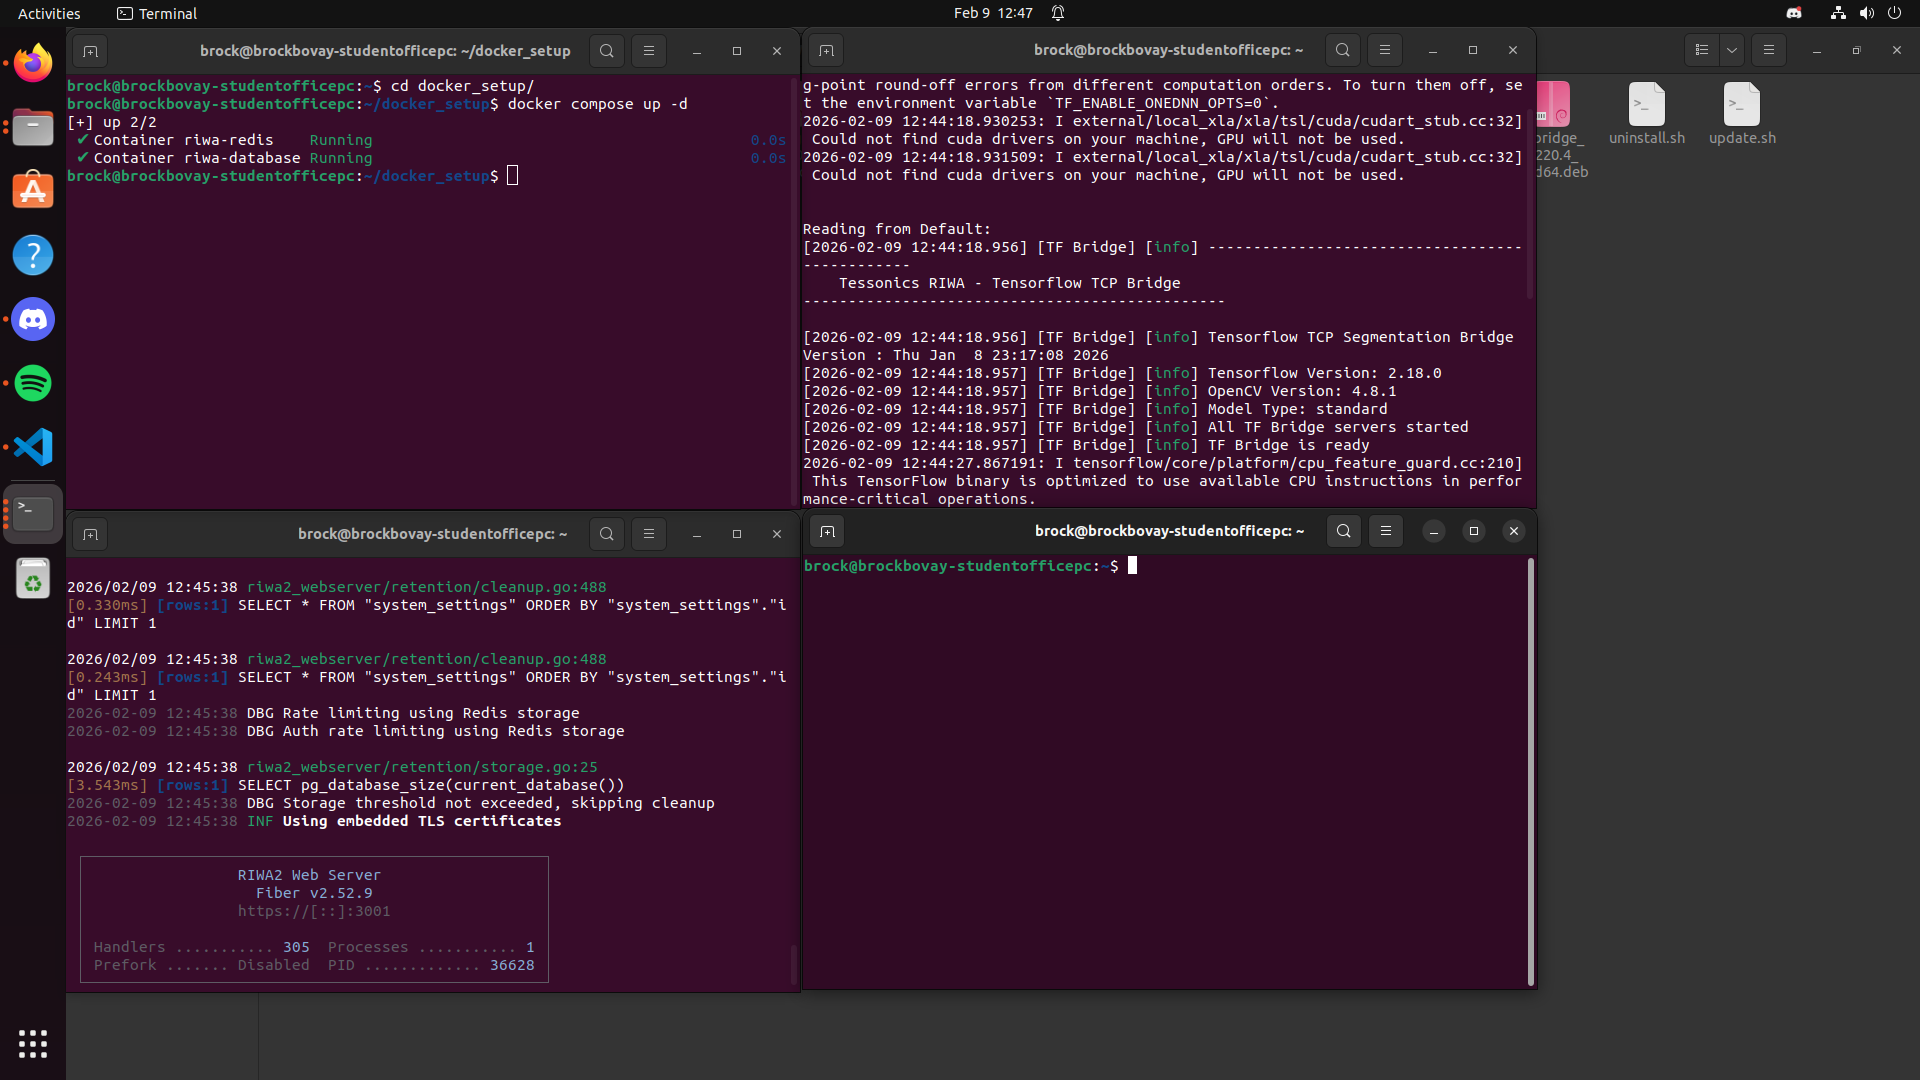
Setting Up Docker Database (One-Time Setup)
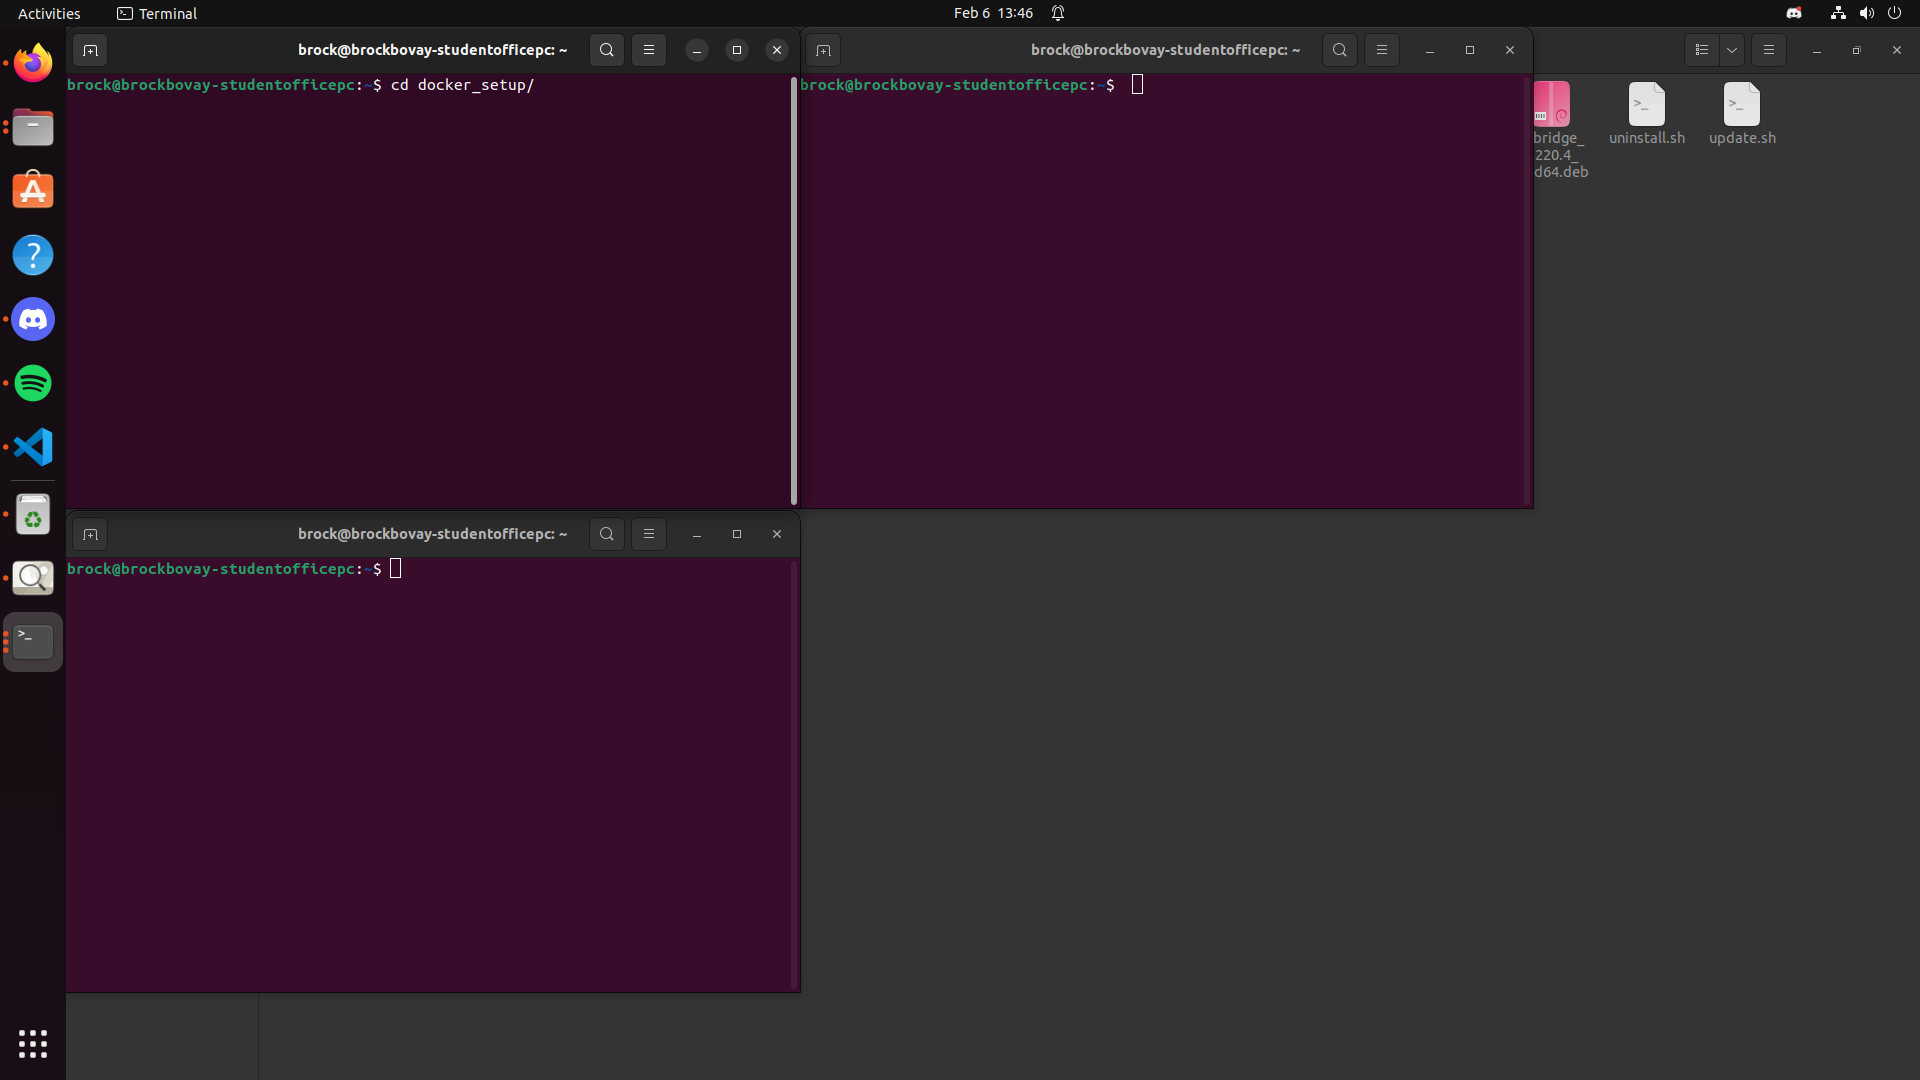
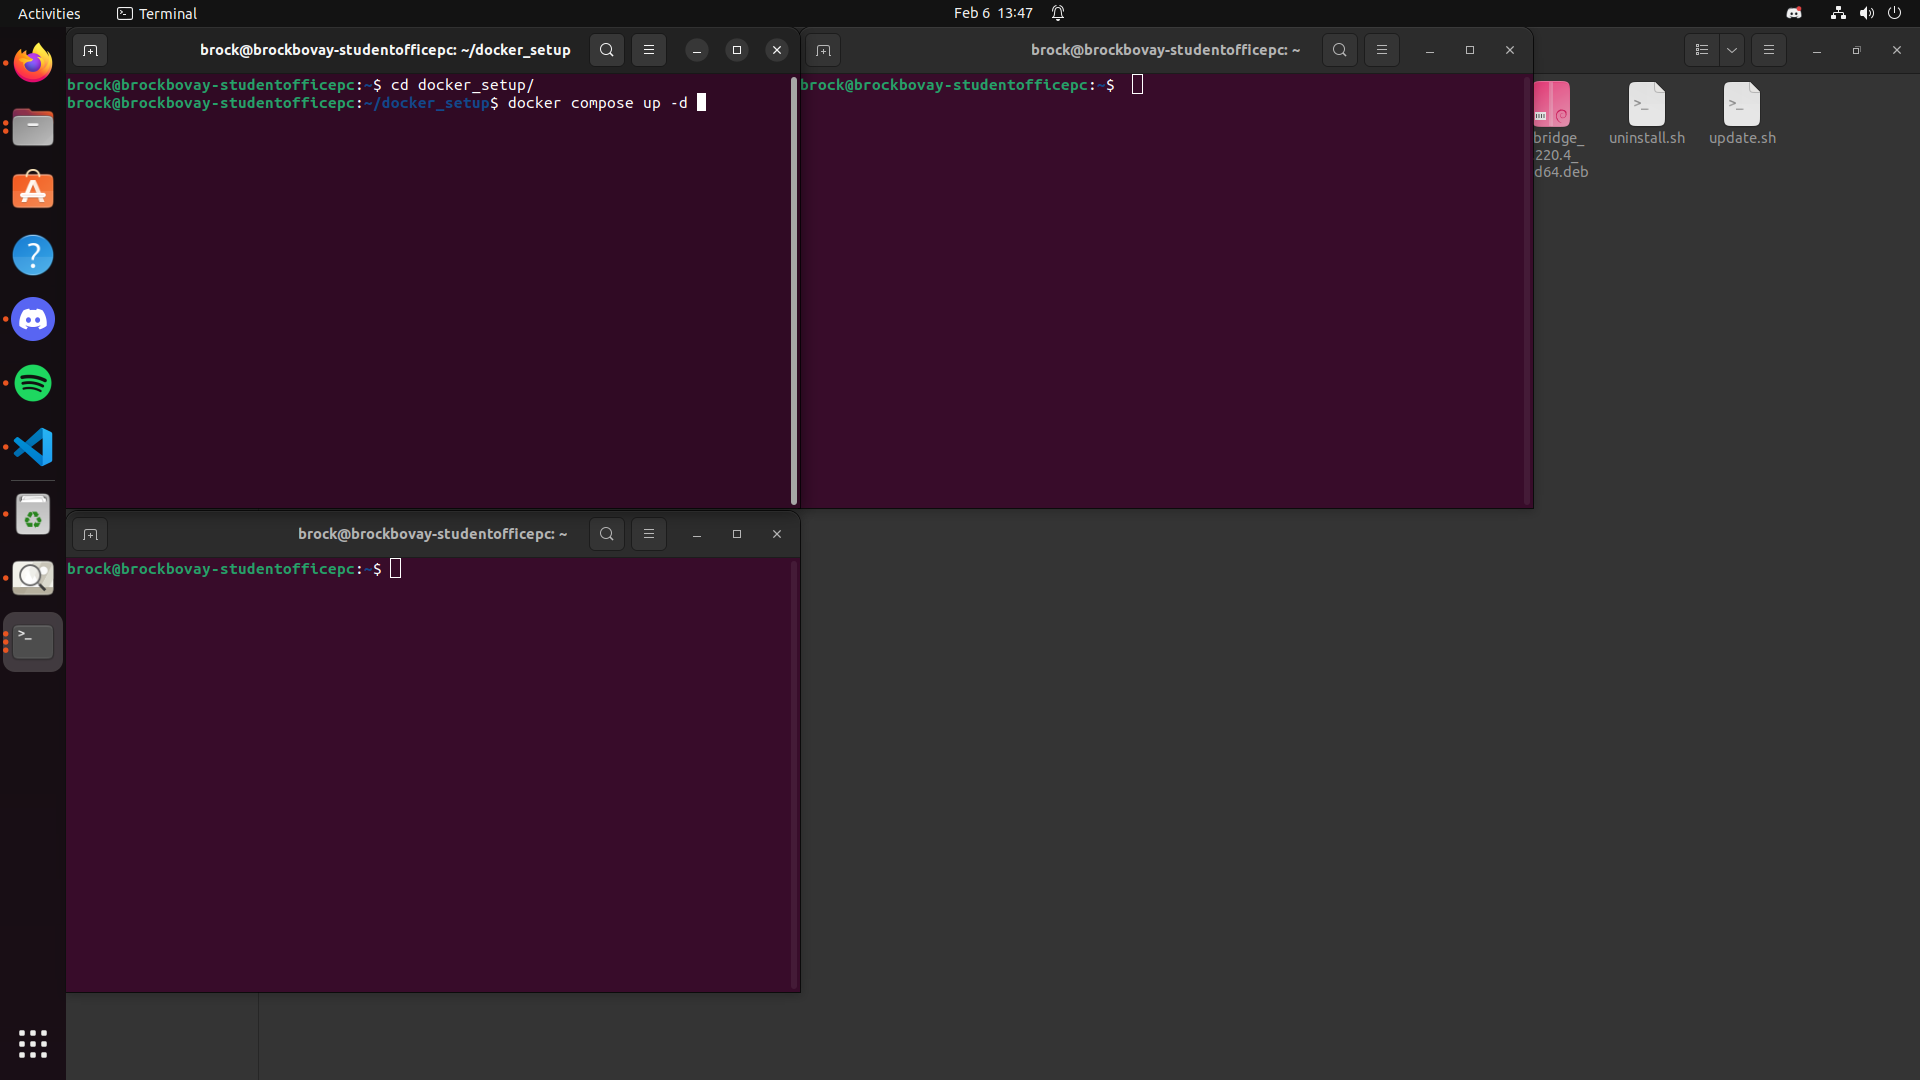
To setup your database using Docker, in one of your three open terminals, you will need to change from your home directory into the directory called docker_setup/. To change directories you will need to run the following command in one of your terminals:
cd docker_setup/
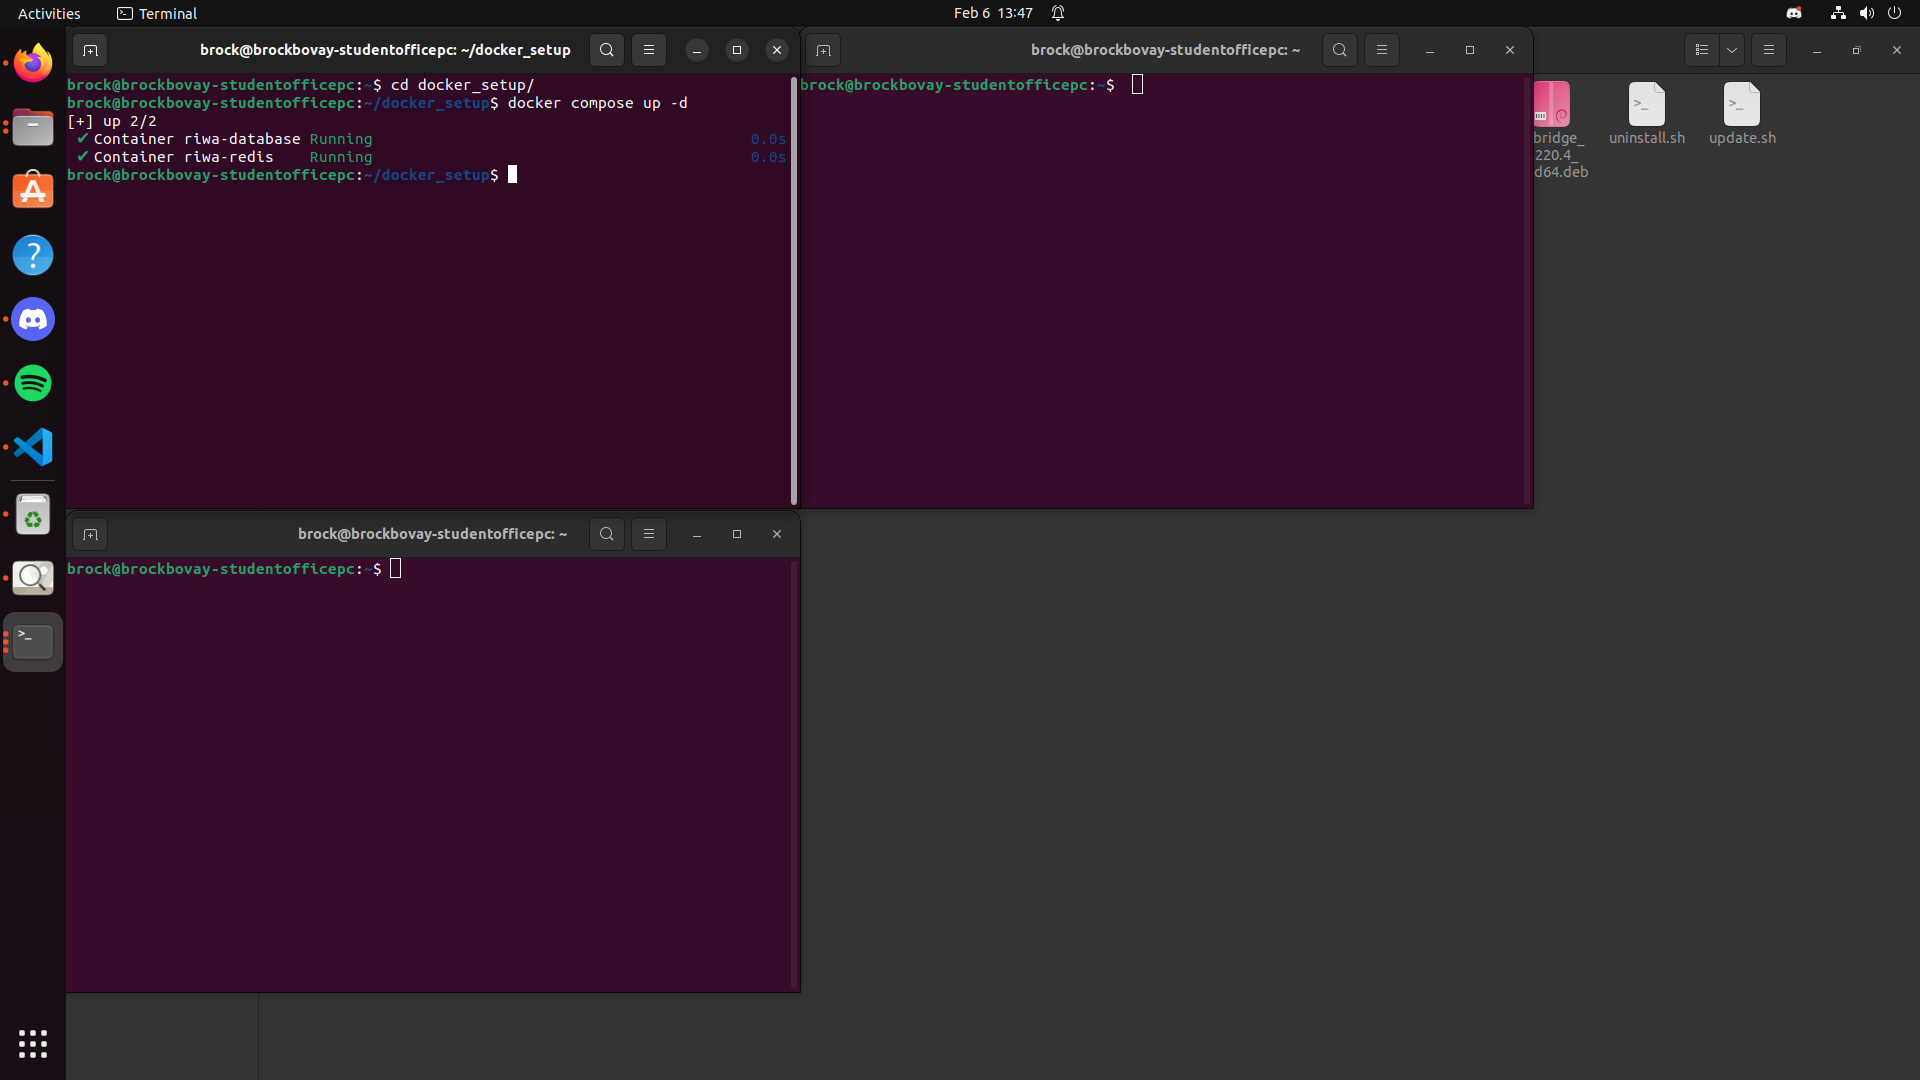
In the same terminal where you ran the command above, you will need to run the following to actually setup your database:
docker compose up -d
Once you have ran the command above, you should see an output similar to this:
[+] Running 5/5
 ✔ Network riwa2_webserver_redis-net  Created                              0.0s
 ✔ Network riwa2_webserver_default    Created                              0.0s
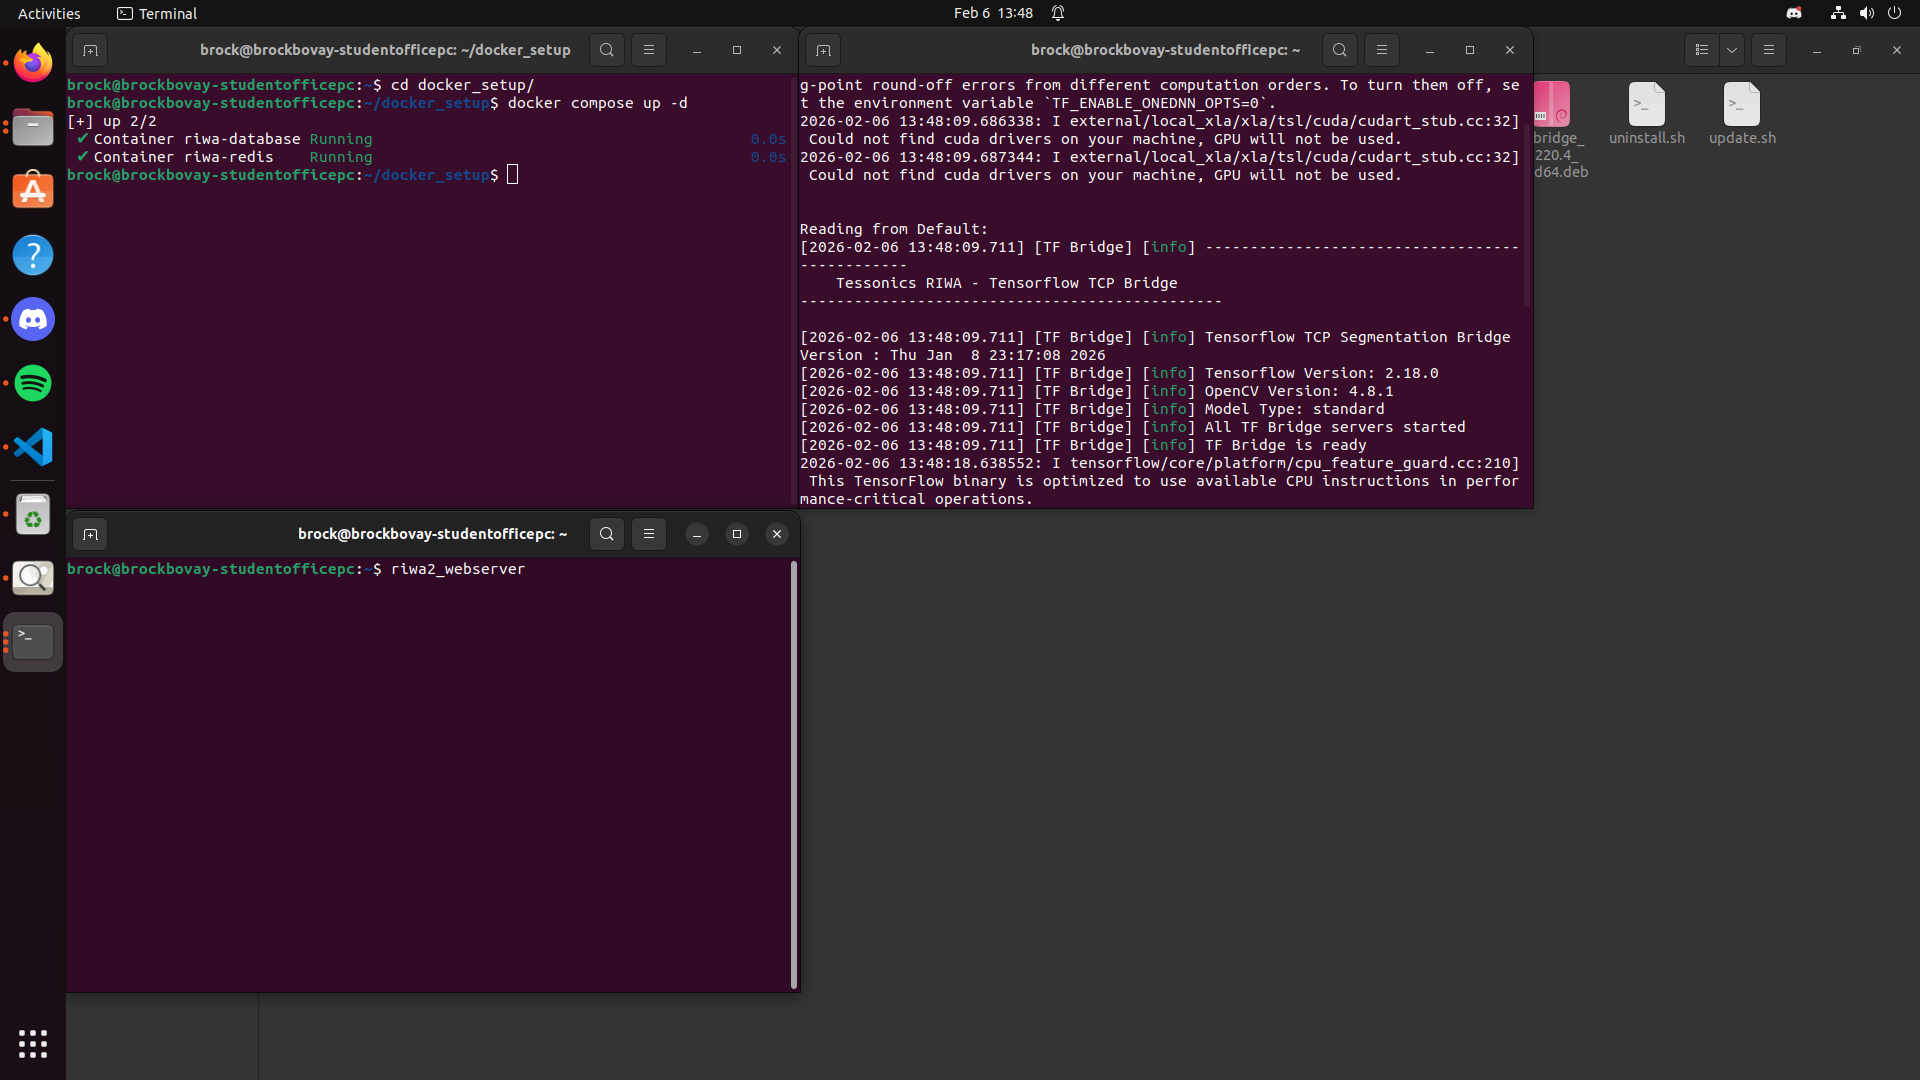
Setting Up TF Bridge (Multi-Time Setup)
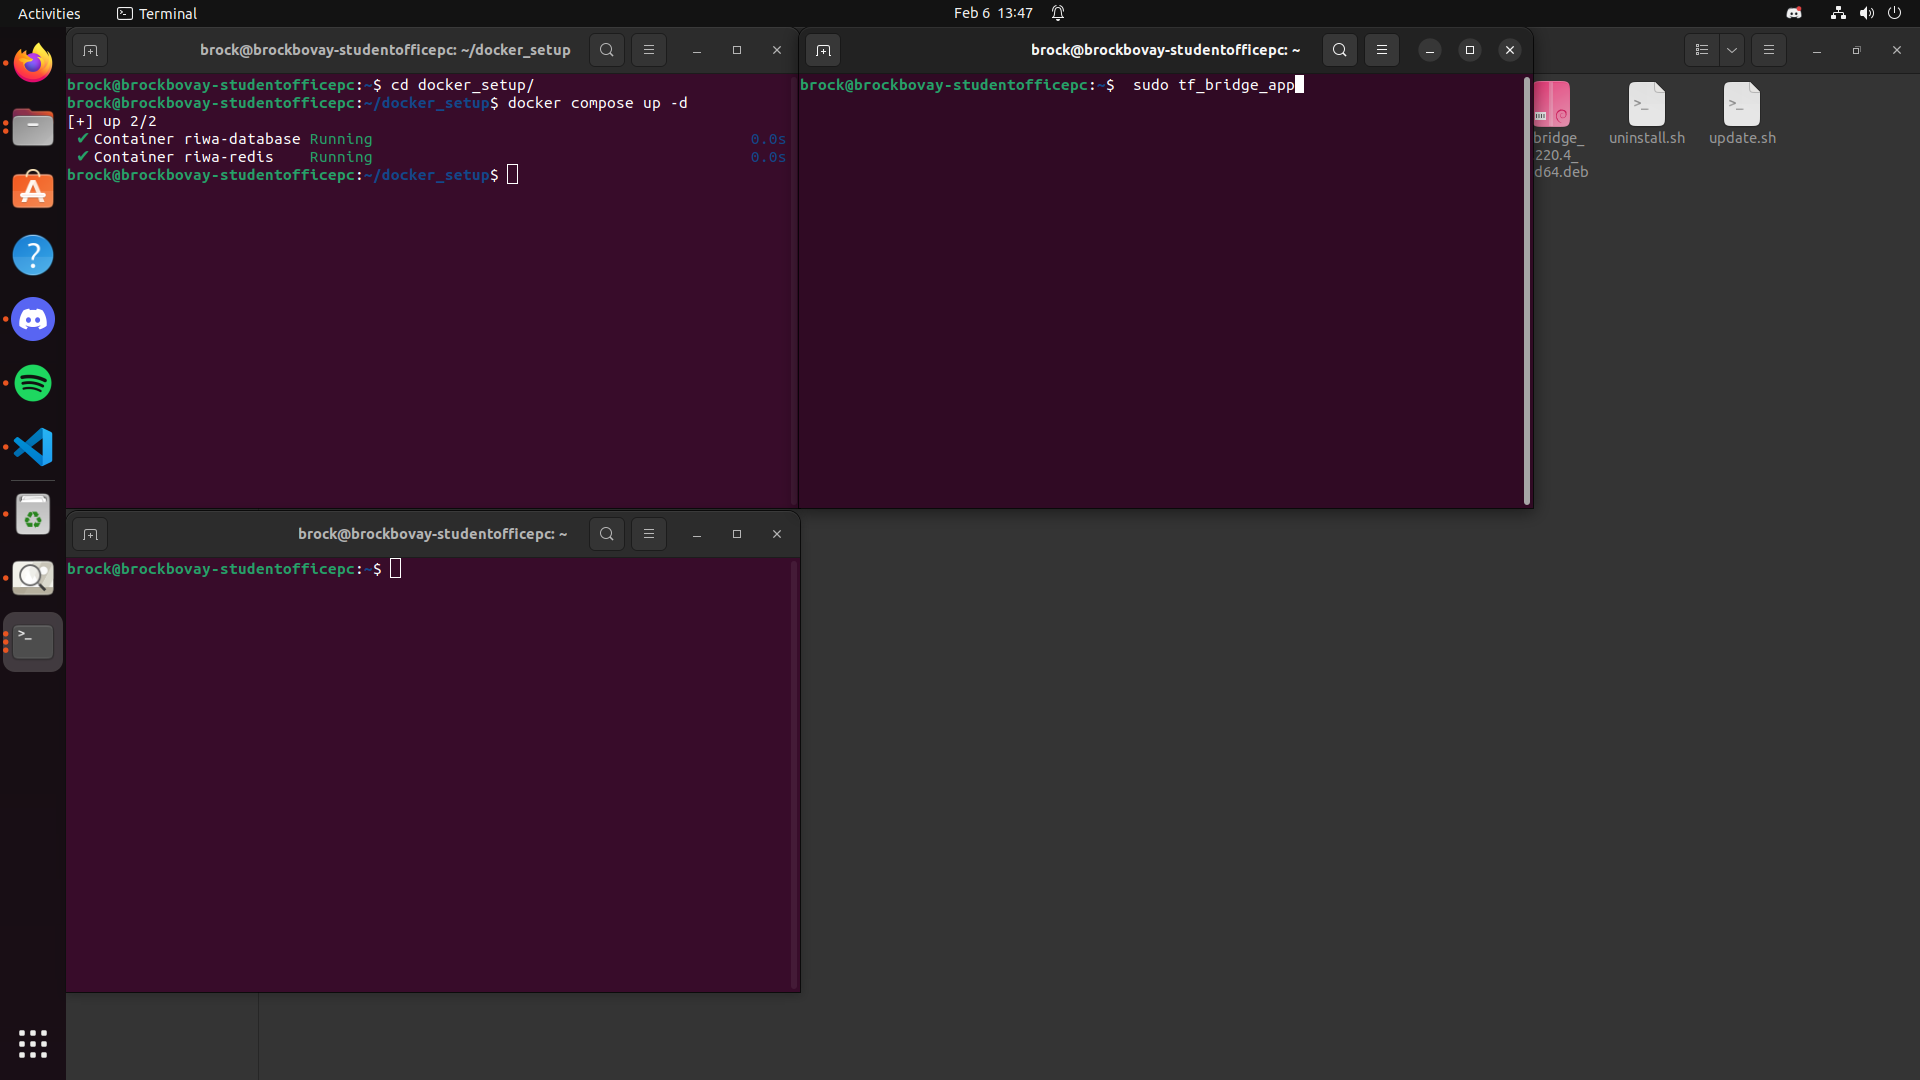
After setting up your database, you will need to set up your TF Bridge server. In a different terminal from the one previously used, you will need to run the following command:
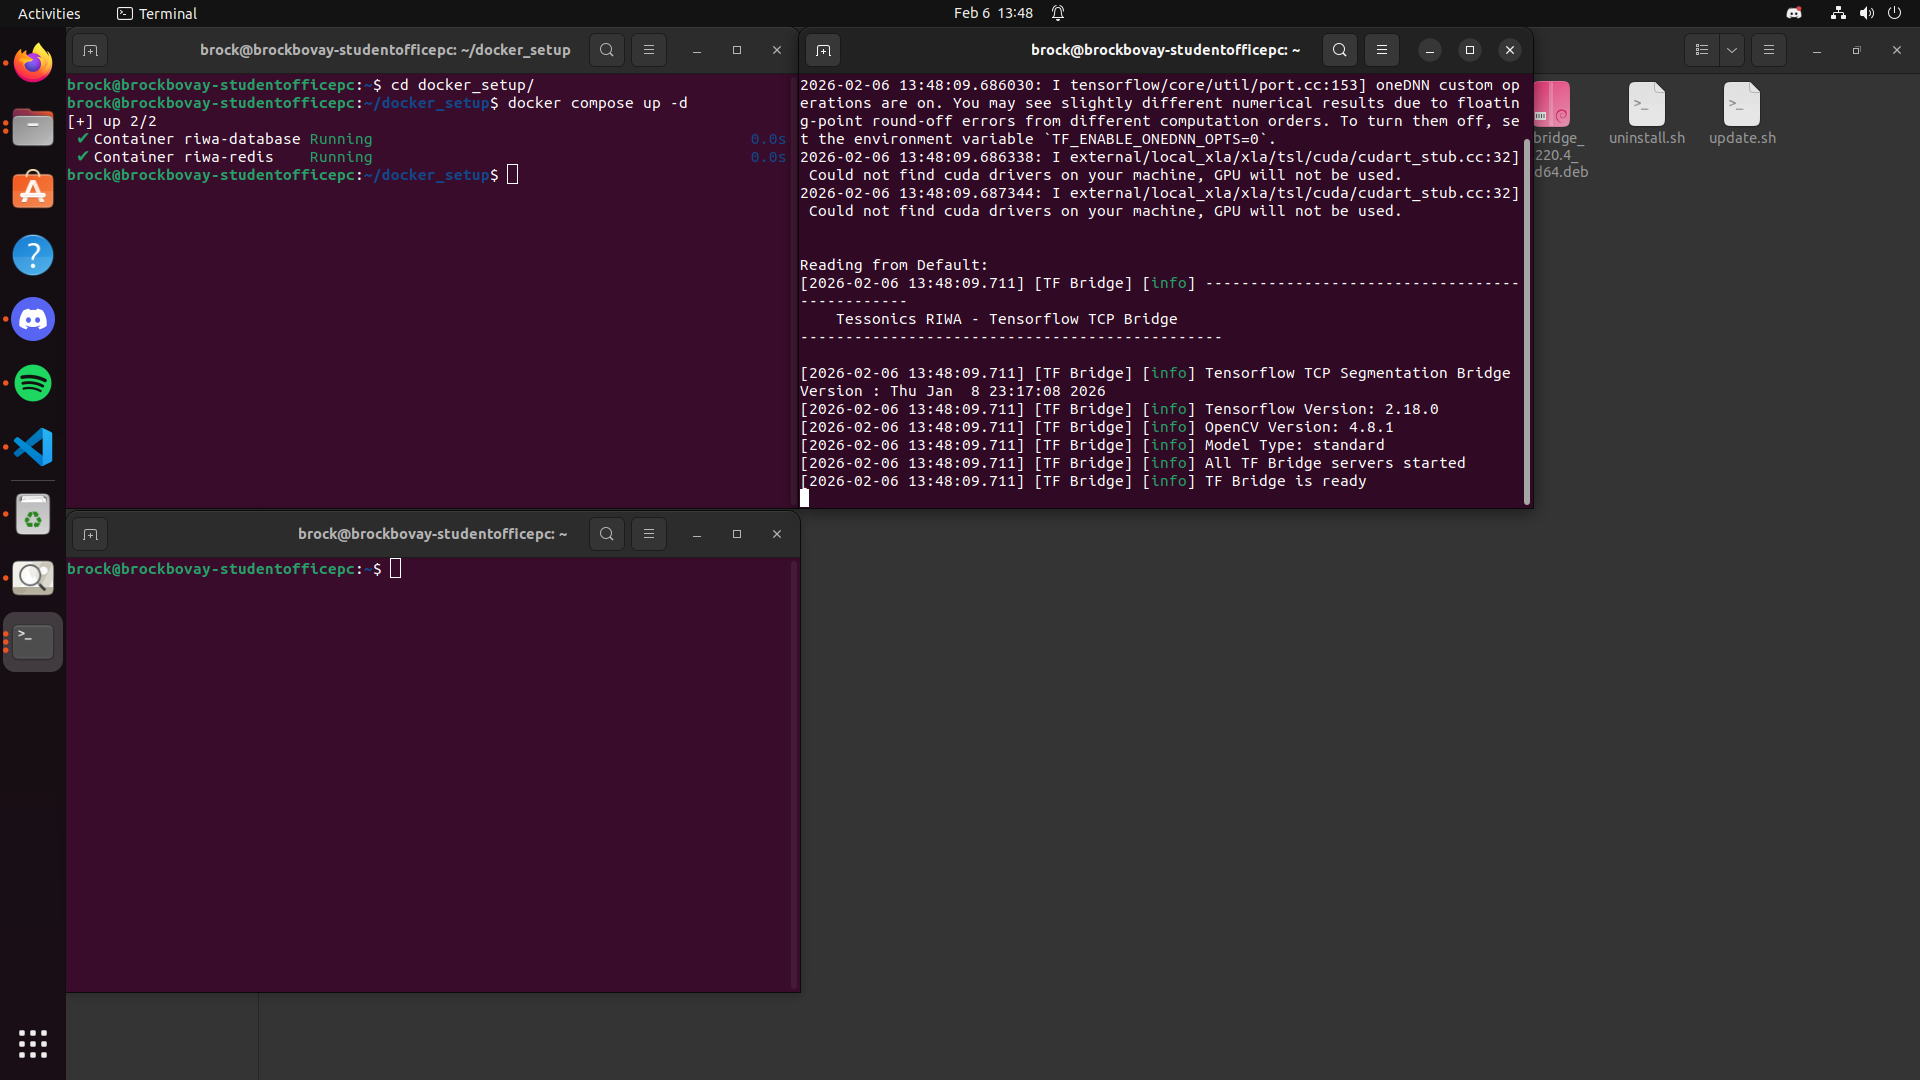
sudo tf_bridge_app
After running the previous command, you should see a log in your terminal similar to this:
[2026-02-09 12:48:57.594] [TF Bridge] [info] -----------------------------------------------
    Tessonics RIWA - Tensorflow TCP Bridge
-----------------------------------------------

[2026-02-09 12:48:57.594] [TF Bridge] [info] Tensorflow TCP Segmentation Bridge Version : Thu Jan  8 23:17:08 2026
[2026-02-09 12:48:57.594] [TF Bridge] [info] Tensorflow Version: 2.18.0
[2026-02-09 12:48:57.594] [TF Bridge] [info] OpenCV Version: 4.8.1
[2026-02-09 12:48:57.594] [TF Bridge] [info] Model Type: standard
[2026-02-09 12:48:57.594] [TF Bridge] [info] All TF Bridge servers started
[2026-02-09 12:48:57.594] [TF Bridge] [info] TF Bridge is ready
By paying special attention to these lines:
[2026-02-09 12:48:57.594] [TF Bridge] [info] All TF Bridge servers started
[2026-02-09 12:48:57.594] [TF Bridge] [info] TF Bridge is ready
These lines above confirm the TF Bridge servers have started, and that the TF Bridge is ready to run. A photo of what this looks like is below:
Setting Up RIWA Hub (Multi-Time Setup)
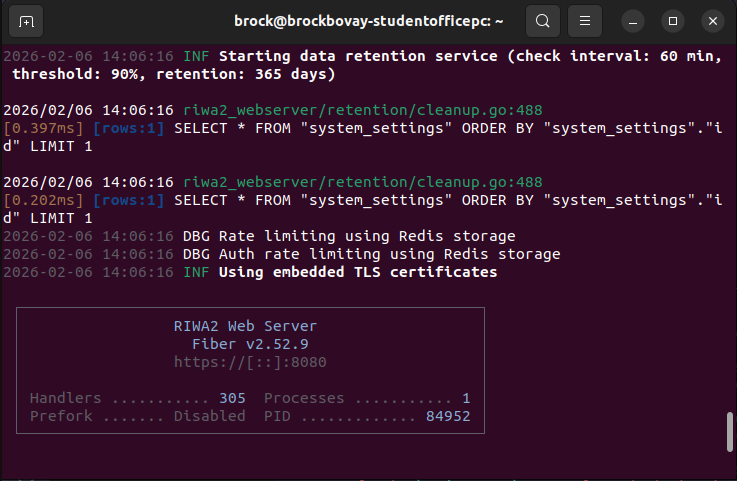
In the last terminal, you will need to run the following command to launch the RIWA Hub:
riwa2_webserver
After running riwa2_webserver, if everything else has been properly configured you should shown a similar message to launch the RIWA Hub:
 ┌───────────────────────────────────────────────────┐
 │                 RIWA2 Web Server                  │
 │                   Fiber v2.52.9                   │
 │                 https://[::]:8080                 │
 │                                                   │
 │ Handlers ........... 305  Processes ........... 1 │
 │ Prefork ....... Disabled  PID ............ 123013 │
 └───────────────────────────────────────────────────┘
By clicking on the link (https://[::]:8080), you will be brought to the RIWA Hub web app. For documentation on the web app please refer to the Web App Software Manual.
An image of what the success screen and the embedded link is shown below:
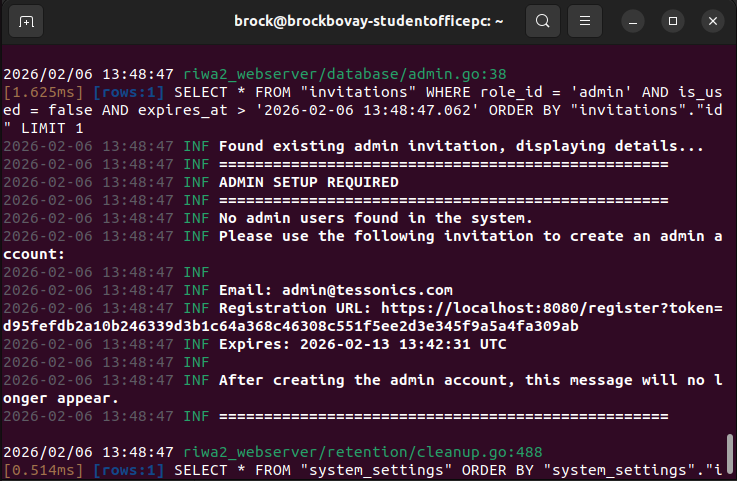
If this is your first time setting up the RIWA Hub, you will be required to set up an admin account. You will be able to find this out by running the riwa2_webserver command and receiving a similar message:
2026-02-06 13:48:47 INF ==================================================
2026-02-06 13:48:47 INF ADMIN SETUP REQUIRED
2026-02-06 13:48:47 INF ==================================================
2026-02-06 13:48:47 INF No admin users found in the system.
2026-02-06 13:48:47 INF Please use the following invitation to create an admin account:
2026-02-06 13:48:47 INF
2026-02-06 13:48:47 INF Email: admin@tessonics.com
2026-02-06 13:48:47 INF Registration URL: https://localhost:3001/register?token=47dd46c3a66c9bc5fb070bdca641a928484ccd5ed88d53b97c0584dd36e8ba19
2026-02-06 13:48:47 INF Expires: 2026-02-13 13:42:31 UTC
2026-02-06 13:48:47 INF
2026-02-06 13:48:47 INF After creating the admin account, this message will no longer appear.
2026-02-06 13:48:47 INF ==================================================
Seen in the message above, you will be provided with a link to set up their admin account, along with a message informing them that after their admin account is setup this message will no longer appear. For the documentation on setting up an admin account, please refer to the Web App Software Manual.
RIWA Hub Help
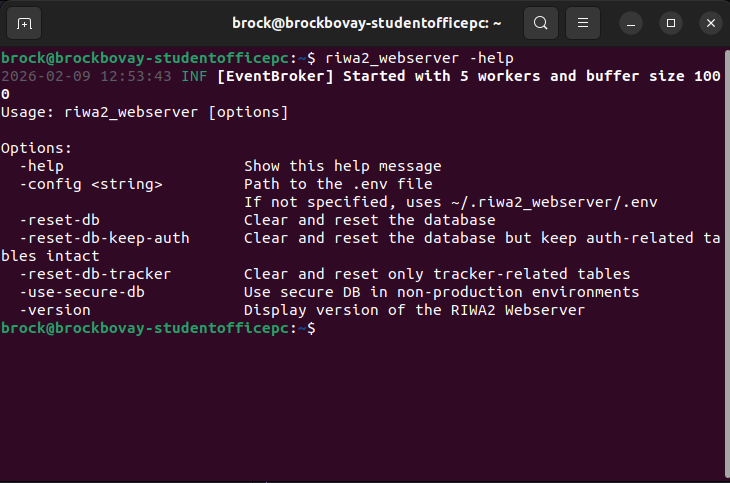
Along with the riwa2_webserver command shown previously, there are other arguments that can be ran in unison to the riwa2_webserver command. The arguments can be found by running the following command in a non-active terminal:
riwa2_webserver -help
or
riwa2_webserver --help
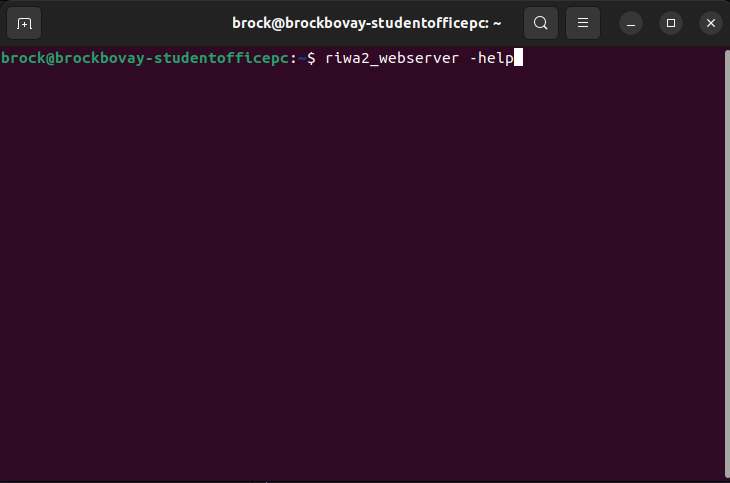
After running riwa2_webserver -help, the list of available arguments you can run in addition to running riwa2_webserver is displayed.
A list of currently available arguments along with their purpose is listed below:
riwa2_webserver -help: Lists all the available arguments to use in combination with the riwa2_webserver.riwa2_webserver -config <String>: Configures the path to your .env file if not already set inside ~/.riwa2_webserver/.env to the input location (<string>).riwa2_webserver -reset-db: Clears and resets the database fully.riwa2_webserver -reset-db-keep-auth: Clears and resets the database but keeps any authentication related data intact.riwa2_webserver -reset-db-tracker: Clears and resets all tracker-related database tables.riwa2_webserver -use-secure-version: Uses a secure database in a non-production environment.riwa2_webserver -version: Lists the current version of the RIWA2 Web App.
Setting Up RIWA Cluster (Multi-Time Setup)
After launching the TF Bridge, you may choose to launch a RIWA Cluster. To launch a cluster you will need to open a terminal (refer to the embedded documentation on how to open a new terminal).
An example of what your screen should similarly look like is below:
After opening a new terminal, you will need to run the following command to launch the RIWA Cluster:
sudo riwa-cluster
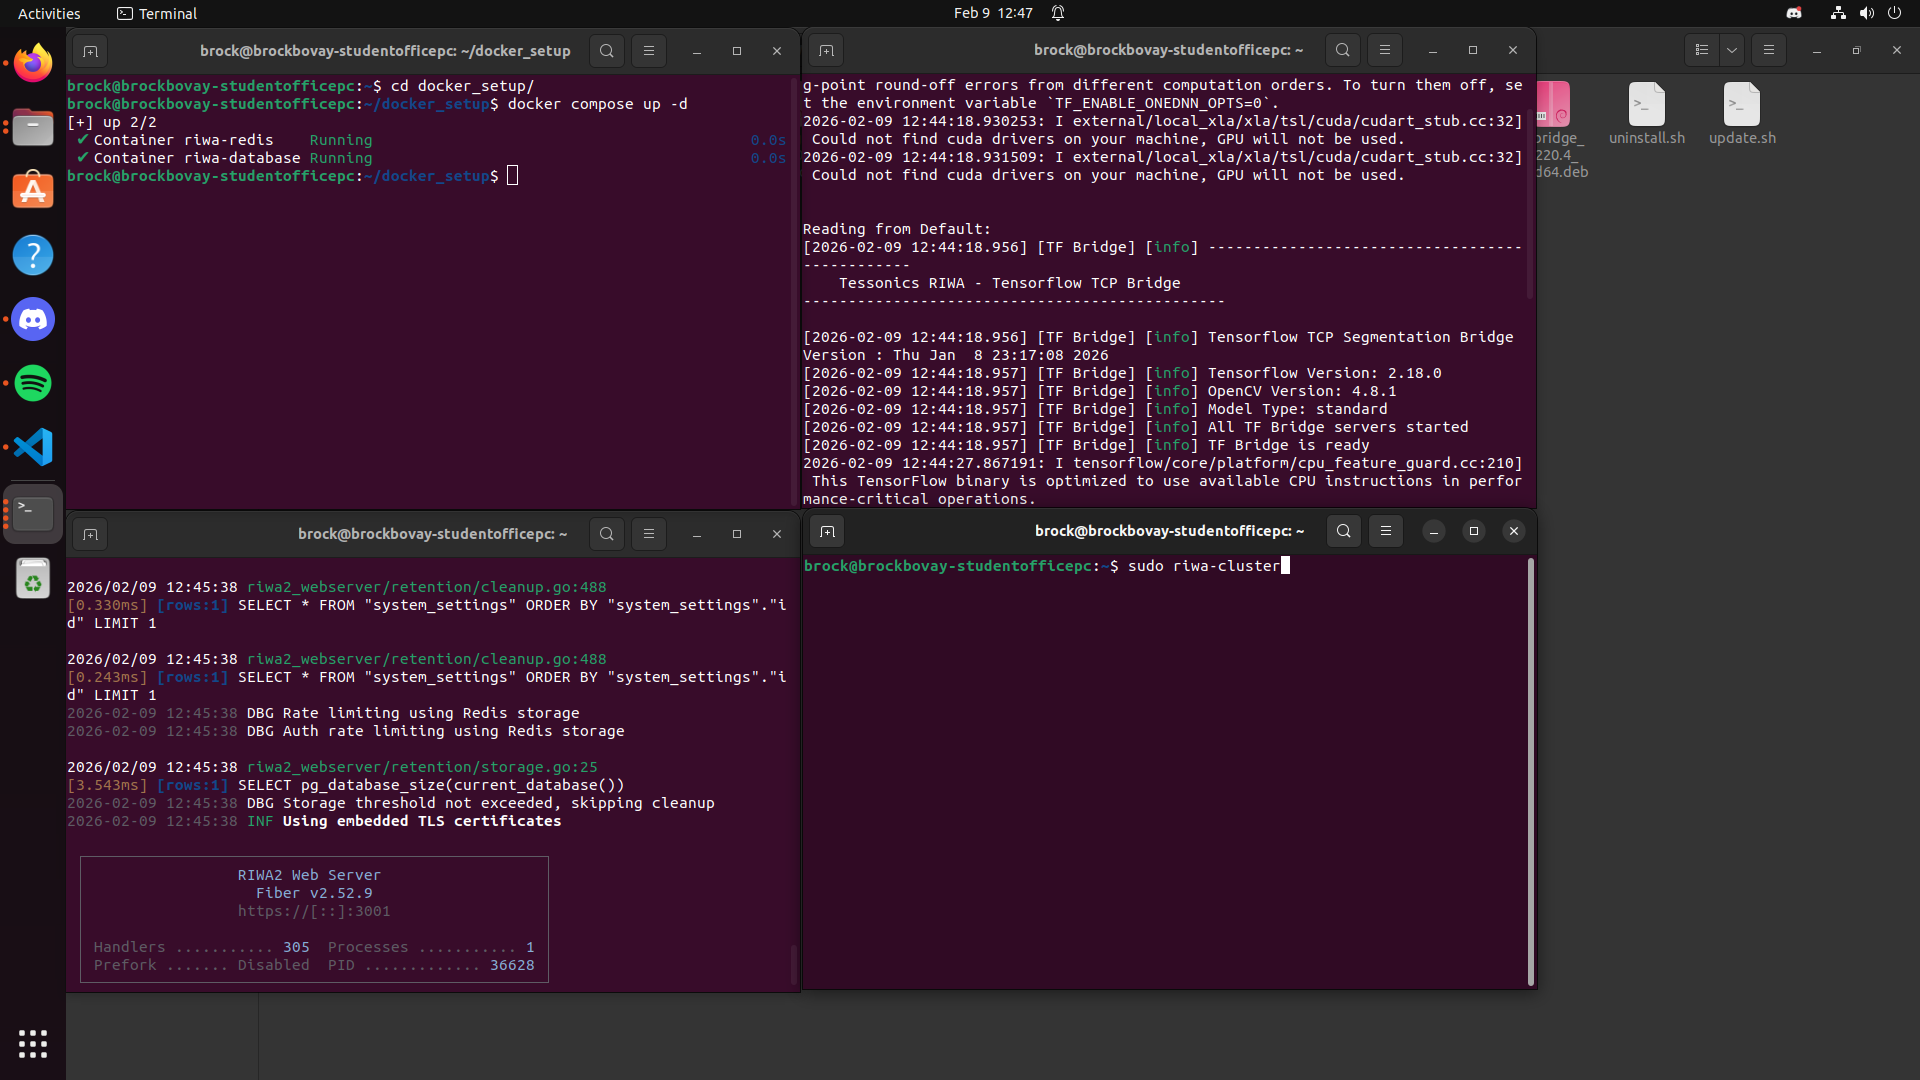
After running the sudo riwa-cluster command, you will see a bunch of text appear, including a message similar to the following:
[2026-02-11 16:17:46.138] [Weld Analyzer 15] [warning] Security passed.
[2026-02-11 16:17:46.138] [Weld Analyzer 15] [debug] USBOARD LOG: [INFO] NSamples 2048 + optionalSamples 6 not multiple of 256, this will result in a worst throughput (real data on wires of 2304 samples)

[2026-02-11 16:17:46.138] [Weld Analyzer 15] [debug] FPGA Version: RIWA            HARDWARE        DATE:2021_12_20 REV:02.00.00    FIRMWARE        DATE:2024_11_04 REV:02.00.00
[2026-02-11 16:17:46.138] [Weld Analyzer 15] [info] Set US BOARD TIMEOUT TO 400ms
[2026-02-11 16:17:46.139] [Weld Analyzer 15] [info] Opening tf bridge connection
[2026-02-11 16:17:46.140] [Weld Analyzer 15] [info] Pre-verification status: Passed
[2026-02-11 16:17:46.140] [Weld Analyzer 15] [info] Pre-verification status: Passed
[2026-02-11 16:17:46.141] [Weld Analyzer 15] [info] WebSocket connected to 127.0.0.1:27015
[2026-02-11 16:17:46.141] [Weld Analyzer 15] [info] Starting Weld Analyzer
This message highlights that the cluster has successfully connected, and thus is ready to run.
An image of what a successful RIWA Cluster launch looks like is below:

For more documentation on setting up and running the RIWA software, please refer to the documentations listed below:
-
For setting up the Auto Launch and running the RIWA software installed in this documentation, please refer to the embedded link.
-
For setting up and using the Disk Monitor, please refer to the embedded link.