Inspections Auditor
Creating a New Inspection
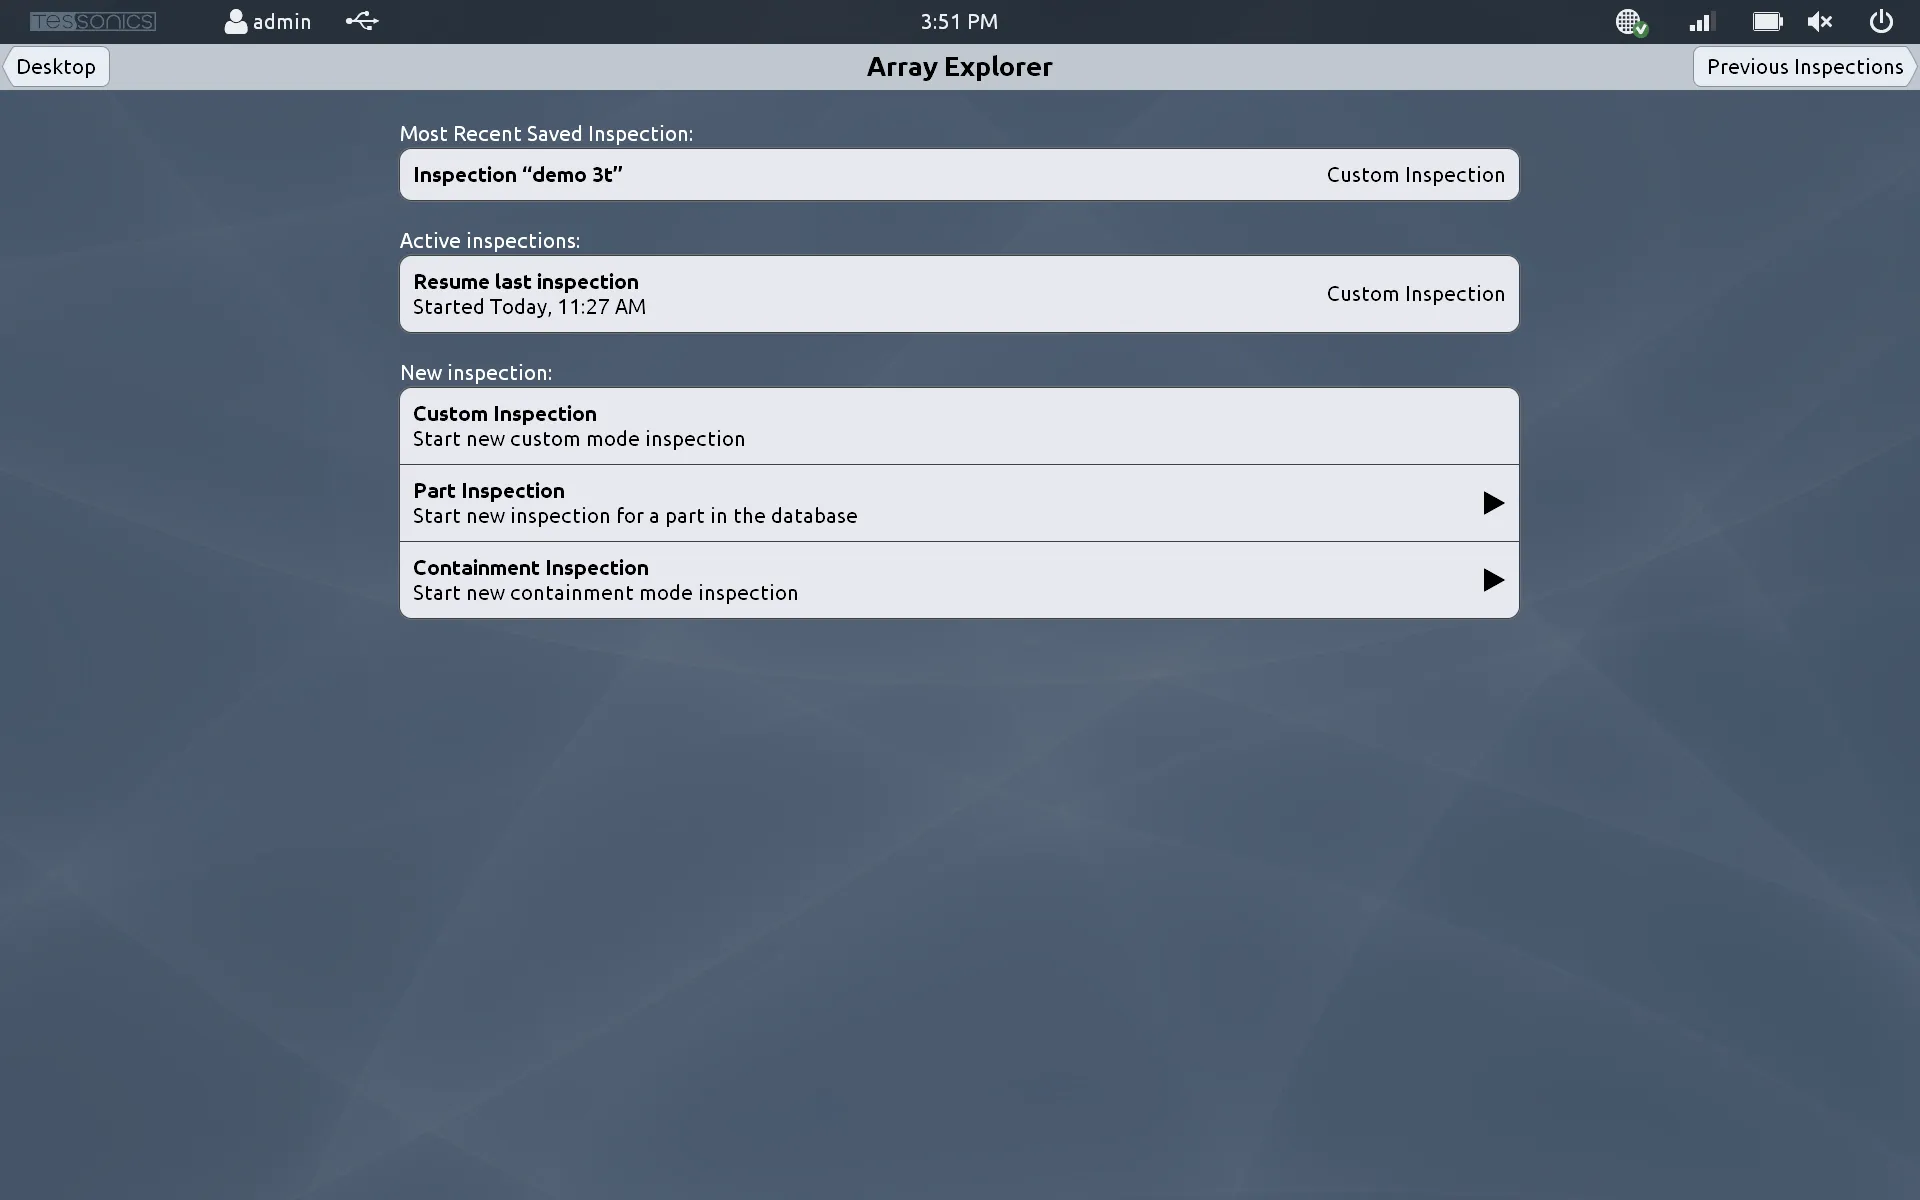
When starting a new inspection, you may choose between three modes: Template Mode, Restricted Mode, and Free Mode.
Template Mode Inspections
Template Mode Inspections (also known as Part Inspections) are inspections that measure the welds of a specific part in your products catalogue. Parts can have many different inspection routes, and each part inspection can follow a route. When starting a part inspection, you will be asked to select which part and route to inspect.
If a part has no inspection routes, the part inspection will simply include all joints in the order as defined in Desktop Tools.
Restricted Mode Inspections
Restricted Mode Inspections (also known as Containment Inspections), like Template Mode Inspections, inspect a single route of a part. However, unlike Template Mode Inspections, Restricted Mode Inspections allow you to select only the welds that have come from a specific set of robots. This is useful in situations where there are many welds in a route, but you are only interested in inspecting the welds that belong to a particular robot.
Free Mode Inspections
Free Mode Inspections (also known as Custom Inspections) are not correlated to parts in any way. When starting a custom inspection you will be asked what type of material you will be inspecting. In all other cases, the material is determined by the part you select.
Using the Auditor
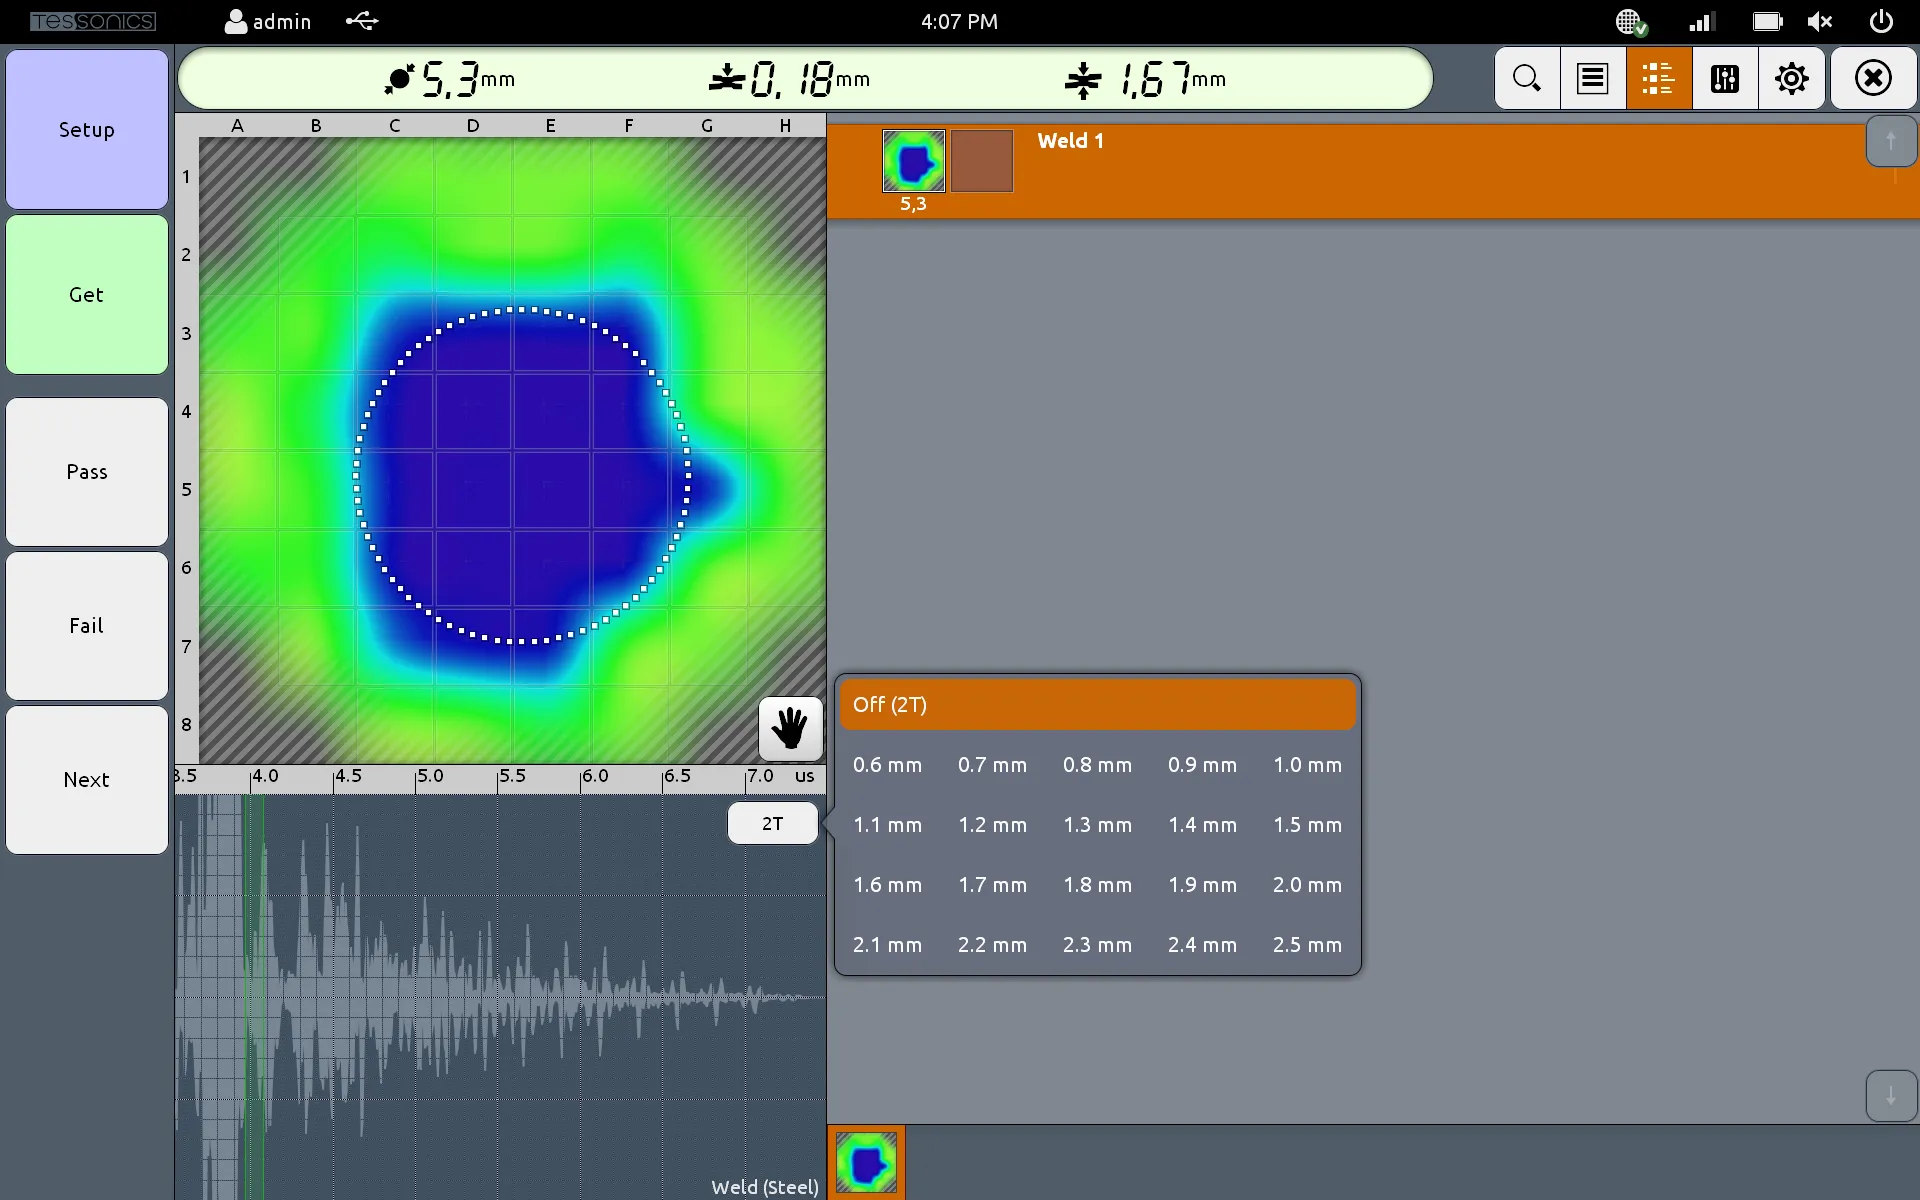
Once you have selected the kind of inspection you are going to undertake, you will be taken to the Auditor screen. This screen has the following components:
- Side Buttons carry out the critical inspection actions, including getting measurements, passing/failing a measurement, etc.
- The Header Bar shows the measured values from the active measurement.
- The C-Scan display shows the processed matrix interpretation of the active measurement.
- The A-Scan display shows the samples taken by one selected element of the probe.
- The Side Panel shows a variety of different views, toggleable by the top buttons. The default view is an image of the part with the list of joints.
Pausing Active Inspections
When you exit the auditor, you have the option of keeping your inspection active. This allows you to resume the inspection at a later time. To resume an active inspection, click on the Array Explorer icon from the main page. You will see a list of the active inspections. Click the one you wish to continue and you will be brought back into the auditor page.
There is a limit of 5 active inspections at a time. In order to start a new inspection, permanently save or delete any of the active inspections.
In Application Settings, there is a setting called Only Allow Creator to Continue Inspection, which only permits the original user who created the inspection to resume it. This makes some inspections read-only if you are not the user who started the inspection.
Viewing Saved Inspections
Once an inspection is saved, it is no longer editable. However you can still view saved inspections by selecting the Previous Inspections button at the top right of the Array Explorer page. All changes in terms of algorithms or display settings will be applied, however they do not modify the saved results or the report generated in TDS.